Advice
Other ways to fundraise
Run, walk, cycle, bake or sell for nature. Whether you're a hare or a tortoise we'd love you to support the RSPB as you ...
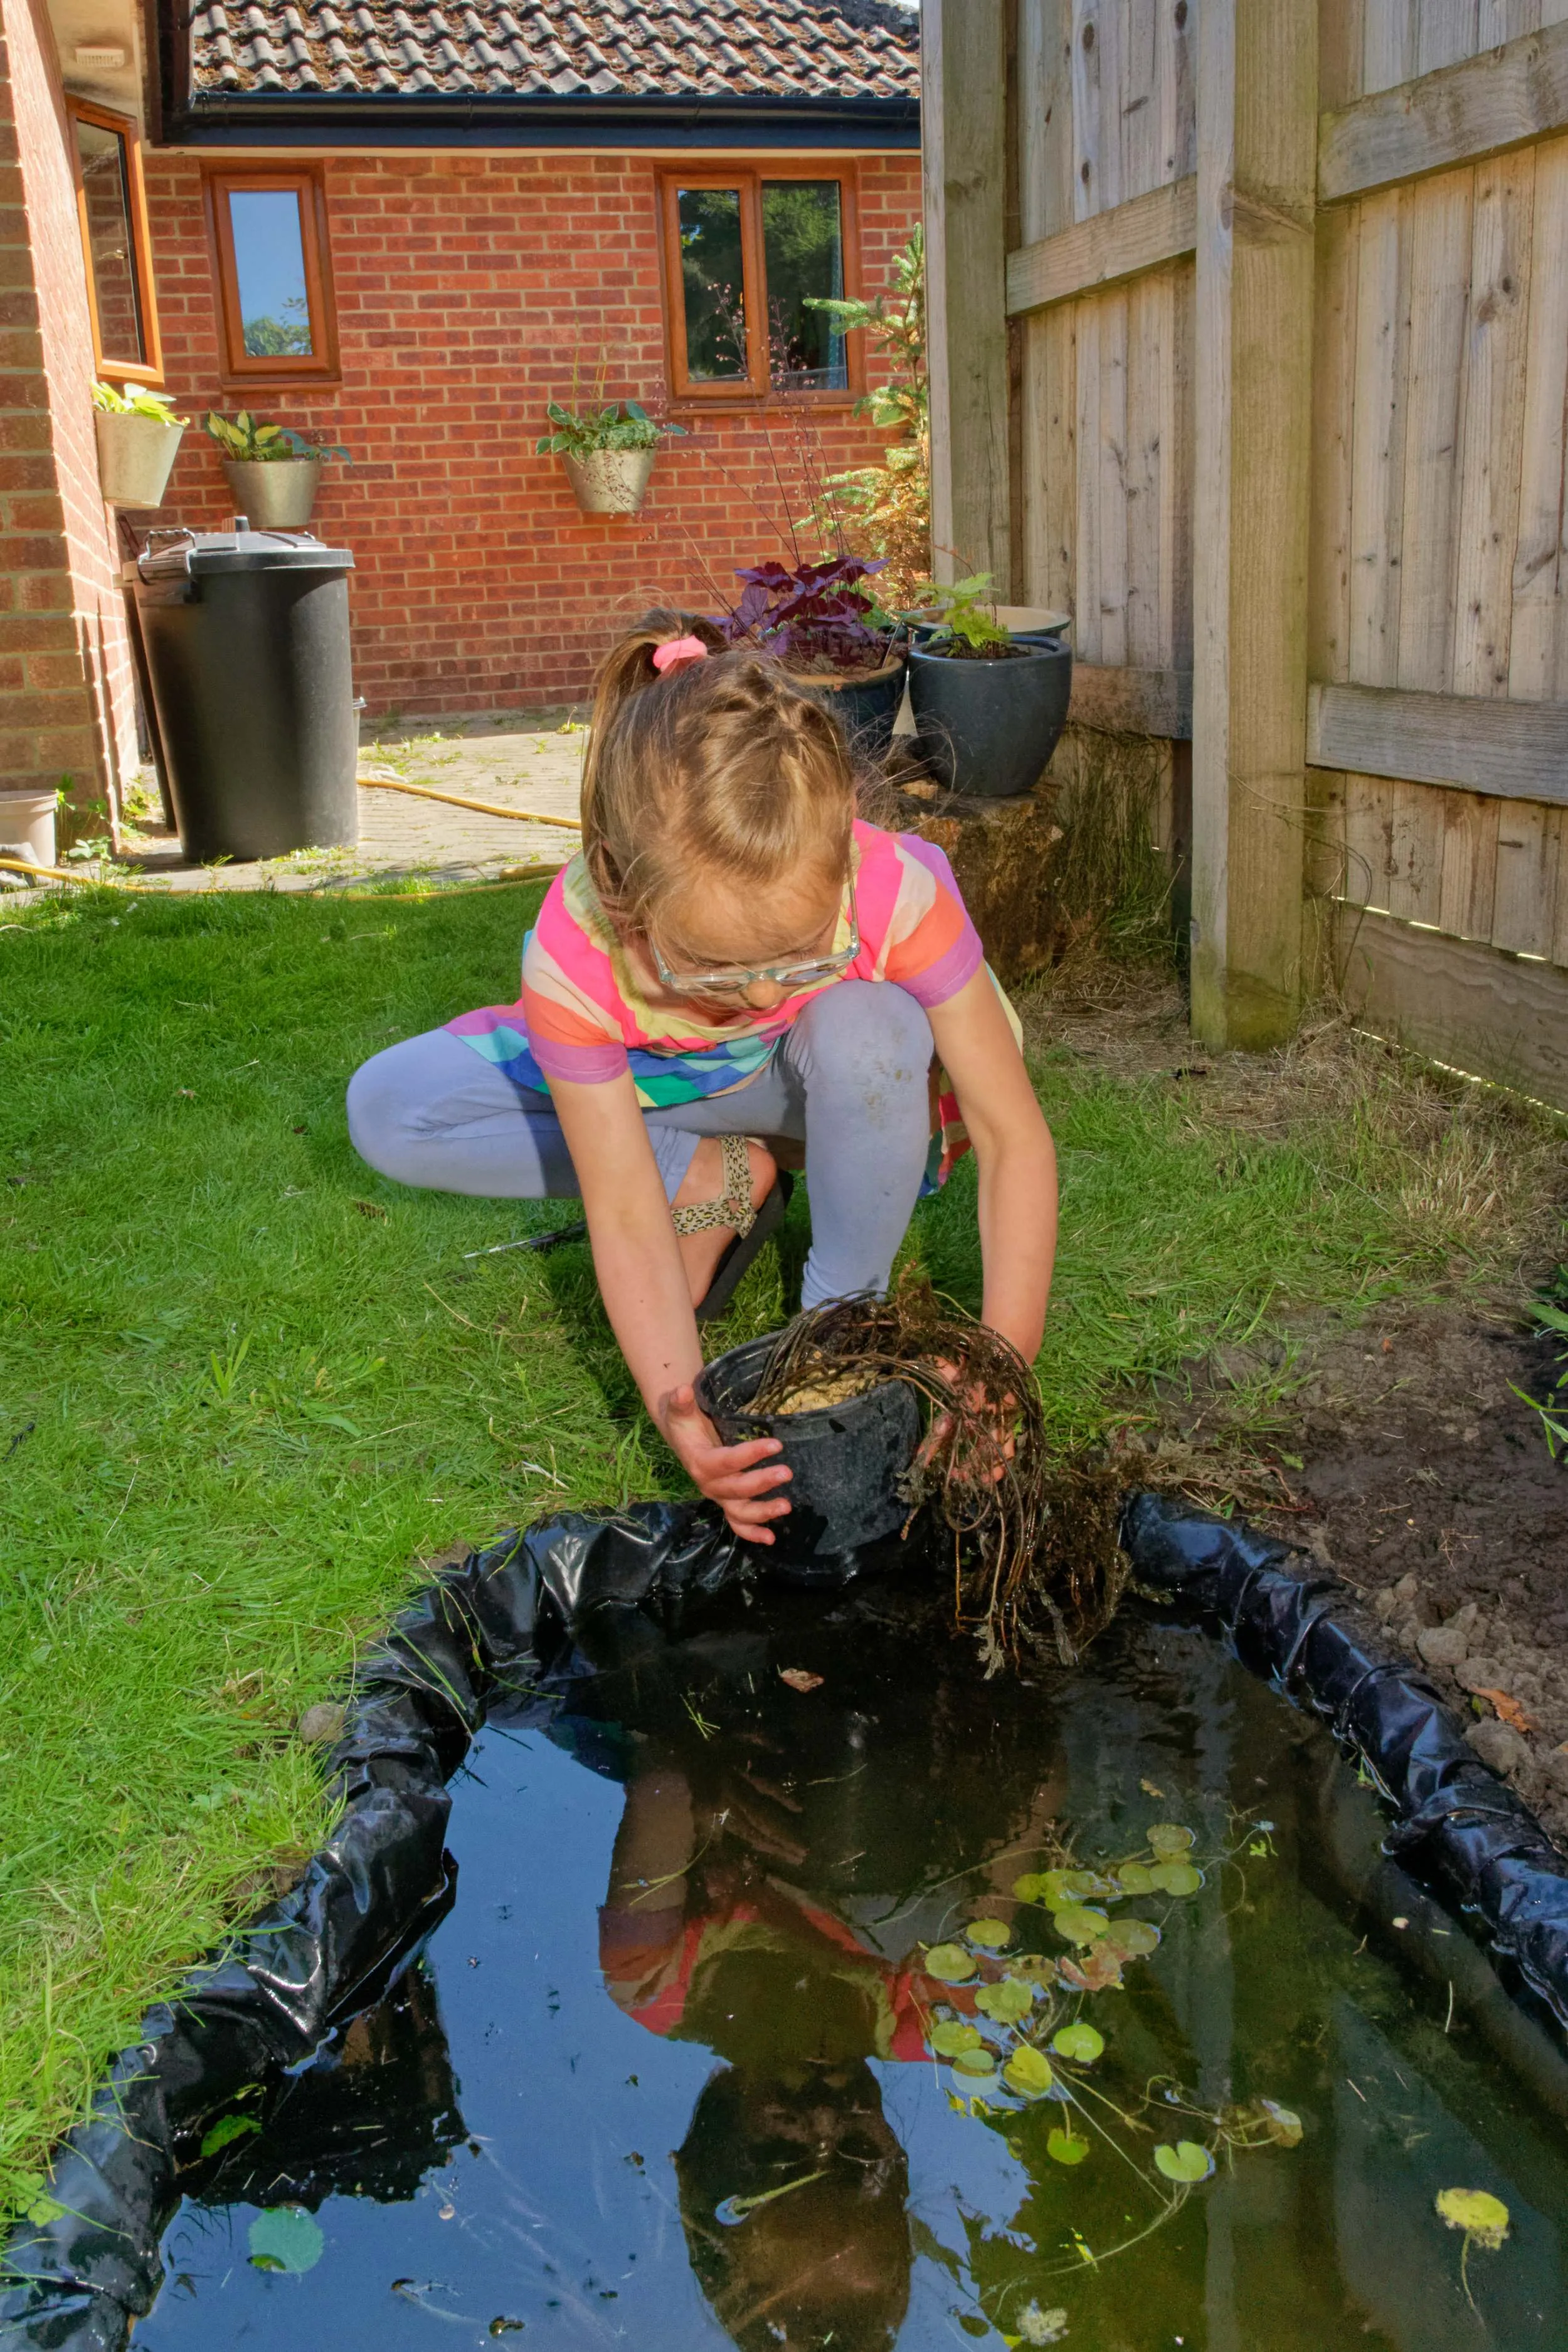
Whether it's a mini-pond in an old washing up bowl or a watery wonderland for frogs and toads at the end of your garden, you can make a haven for nature in your outdoor space.
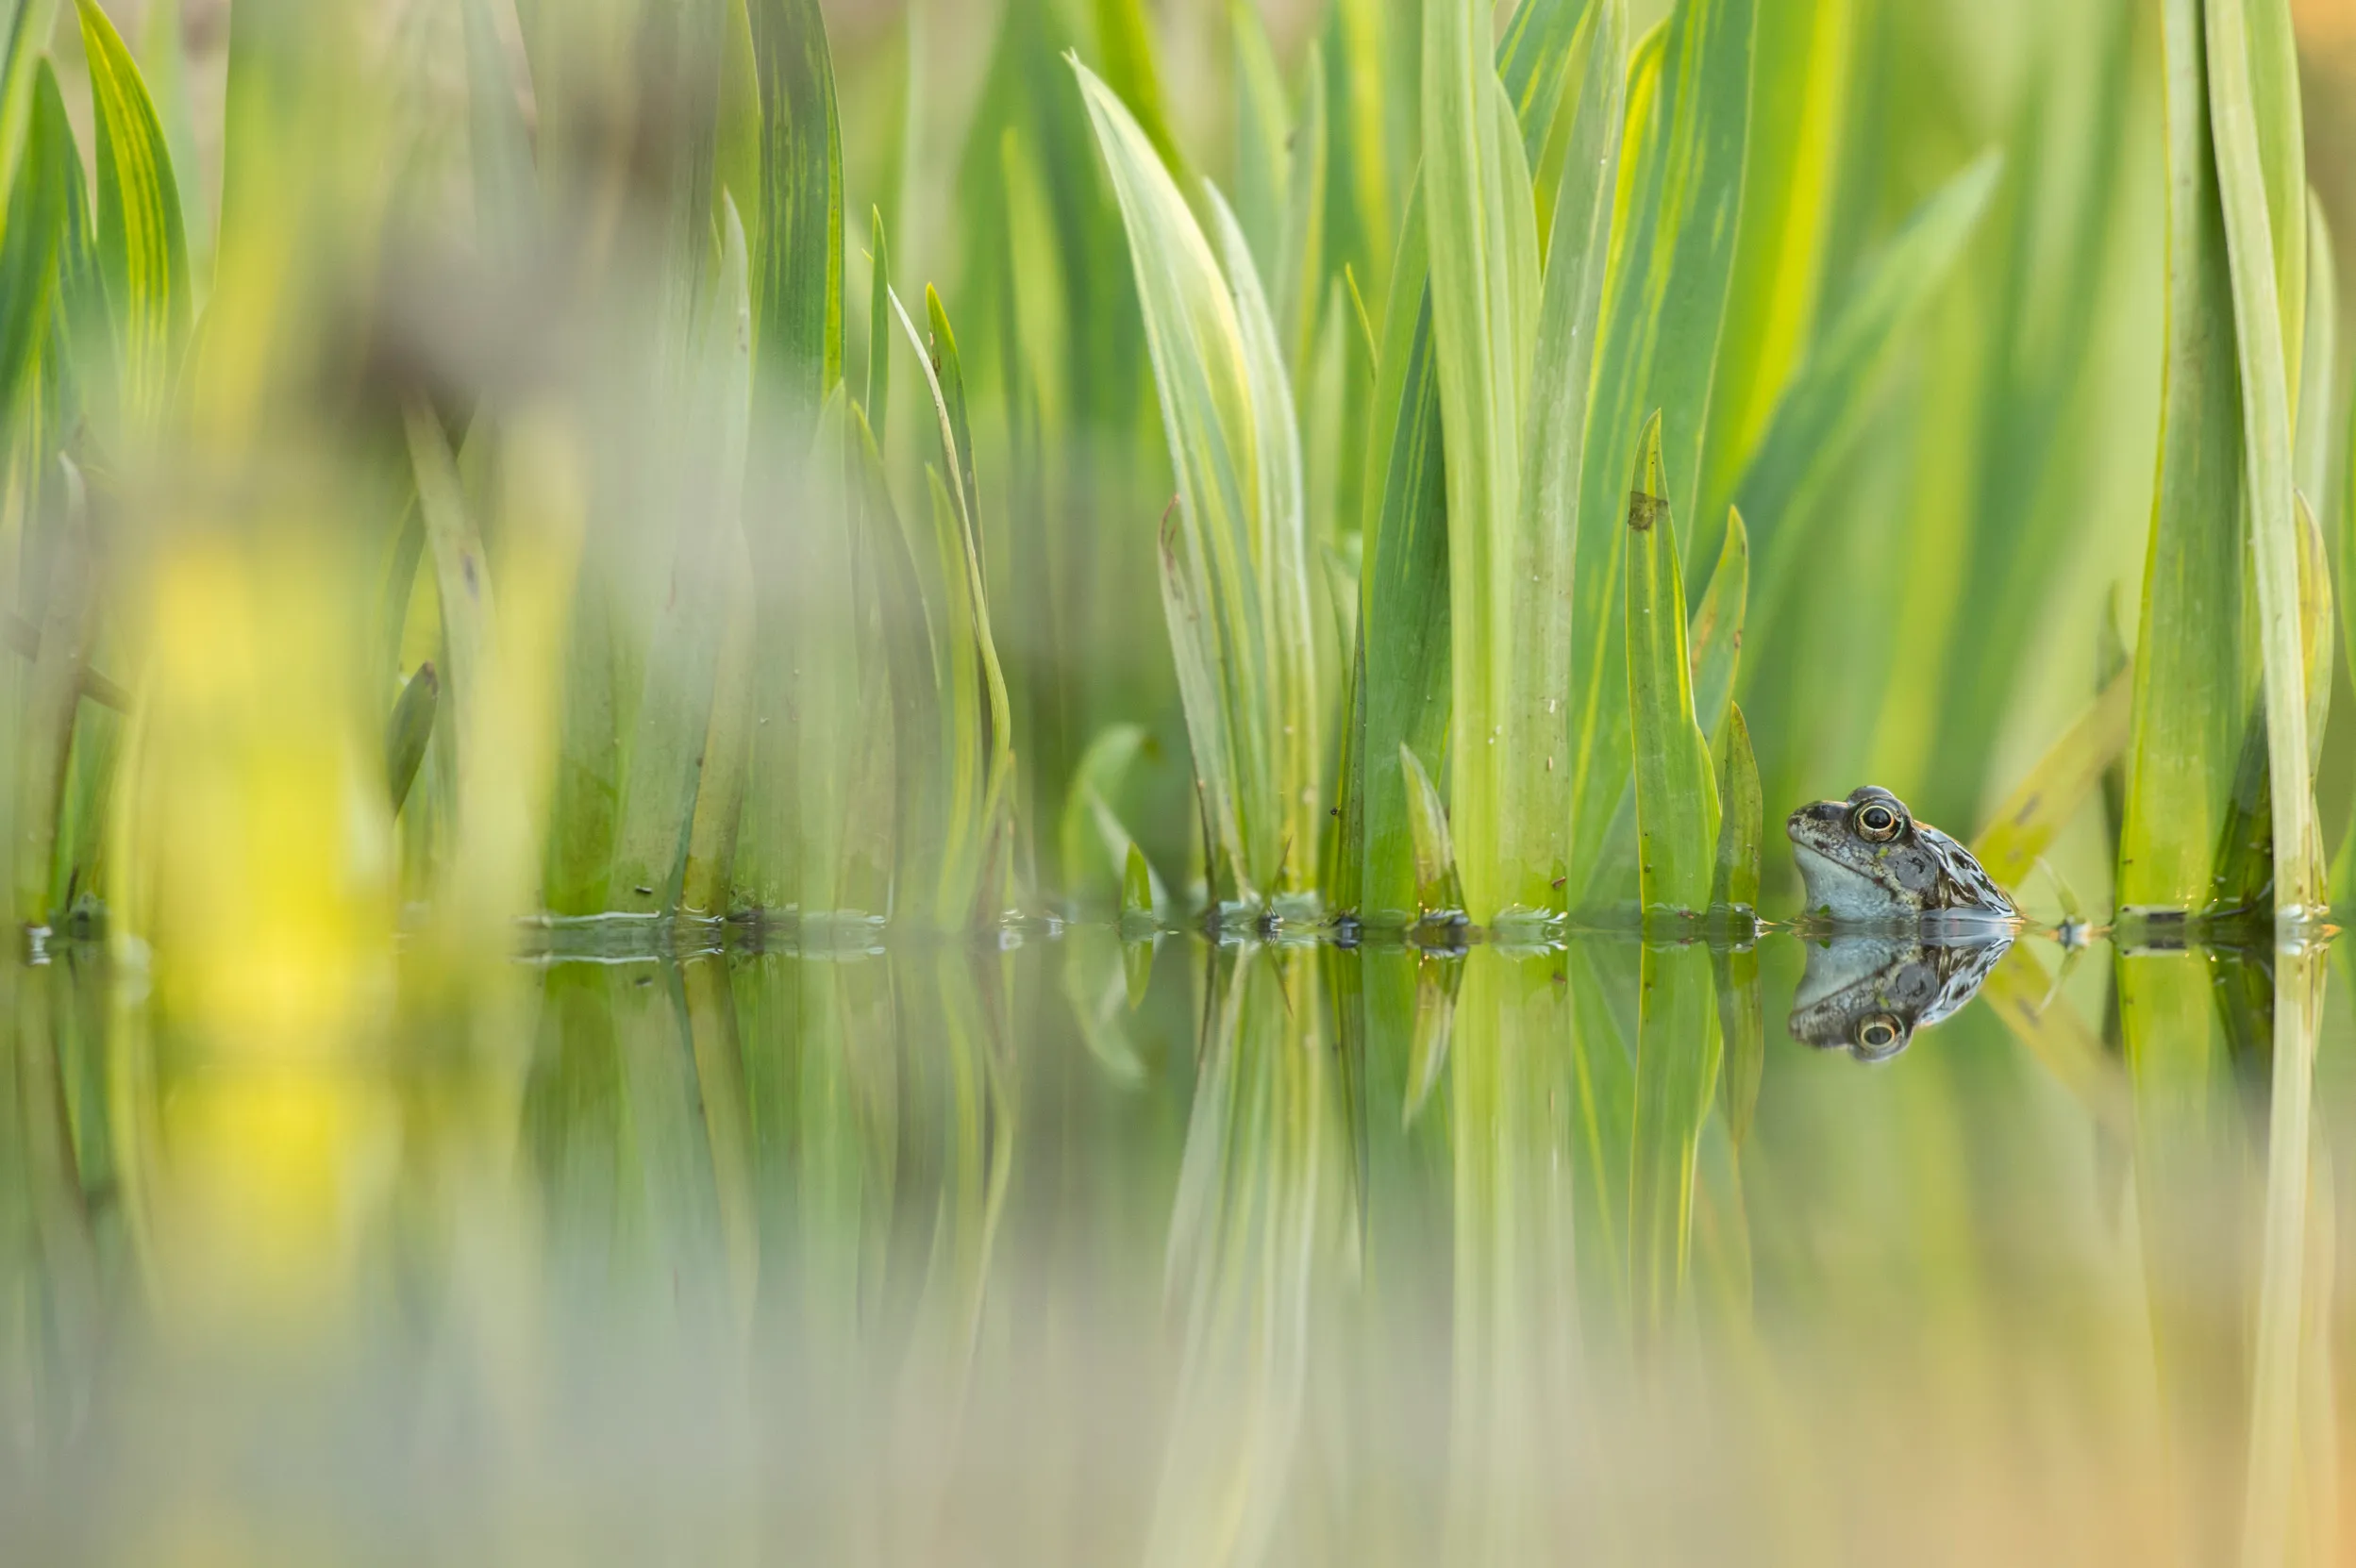
Water brings a magical quality to your garden and is the key to life for so many creatures that live there. It's easy to create a very small pond out of something like an old washing up bowl, so you can have a mini pond in any sized garden. If you’ve got more space to spare, building a large pond is a rewarding challenge for you and a gift for wildlife.
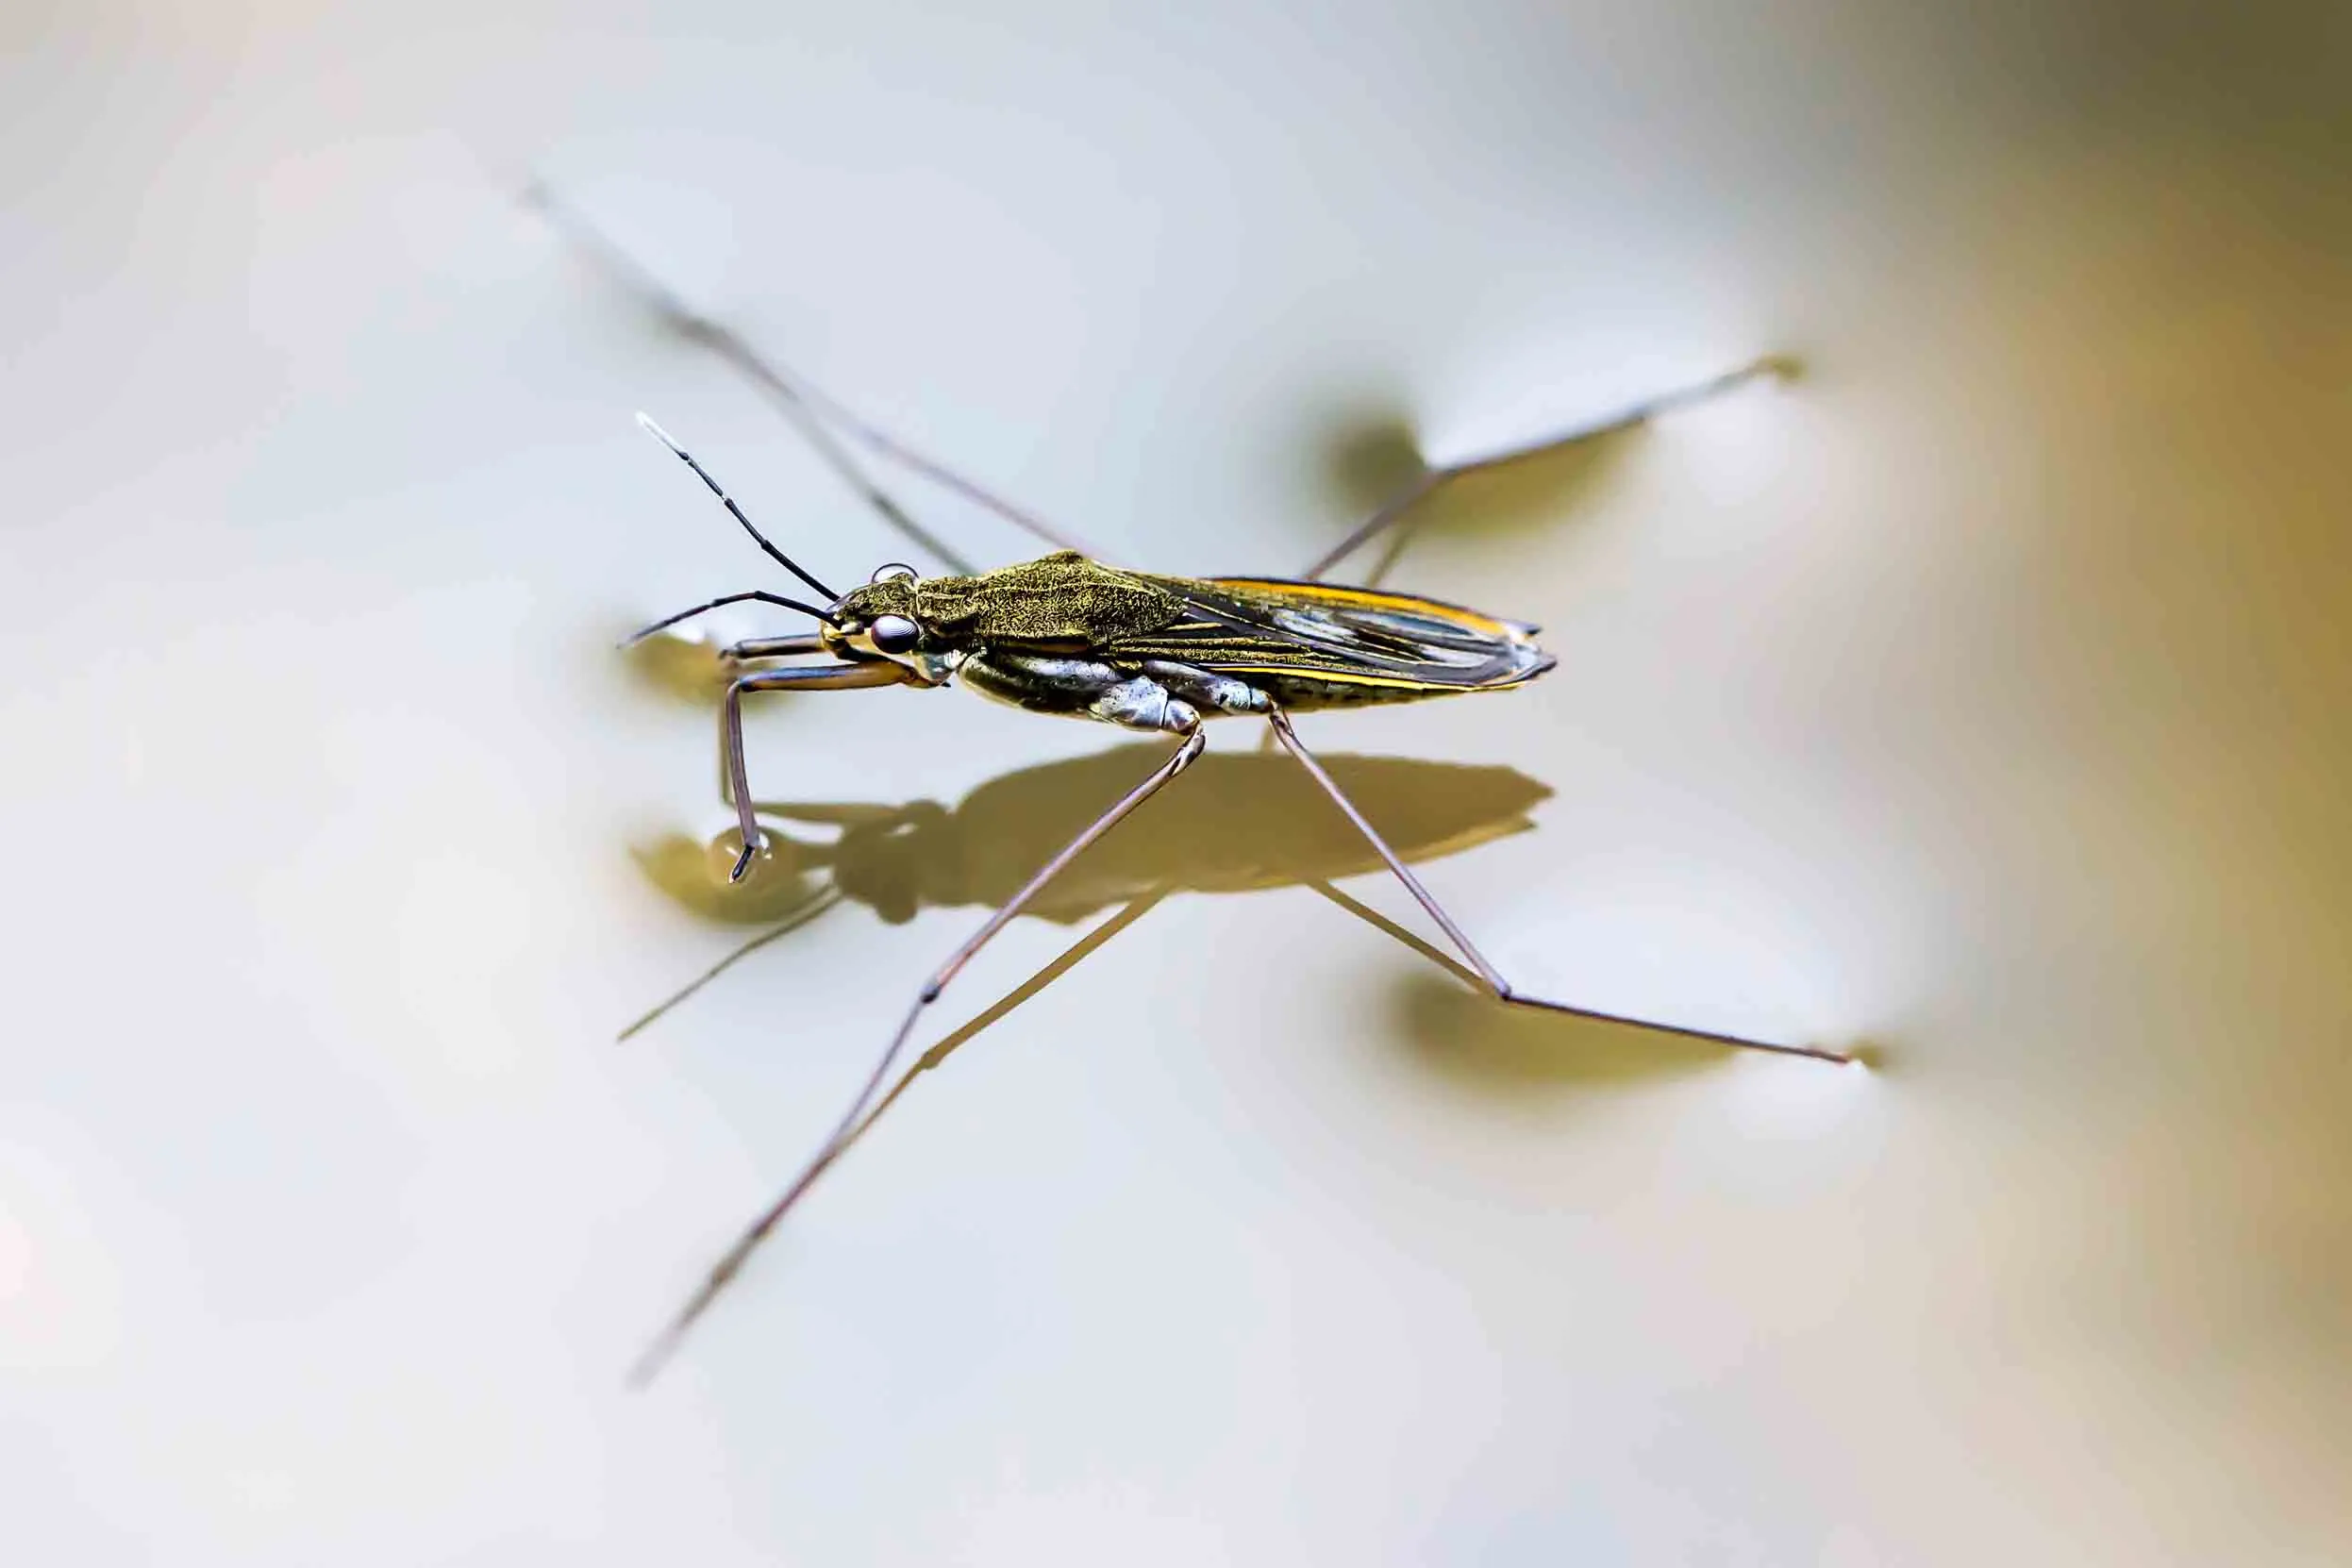
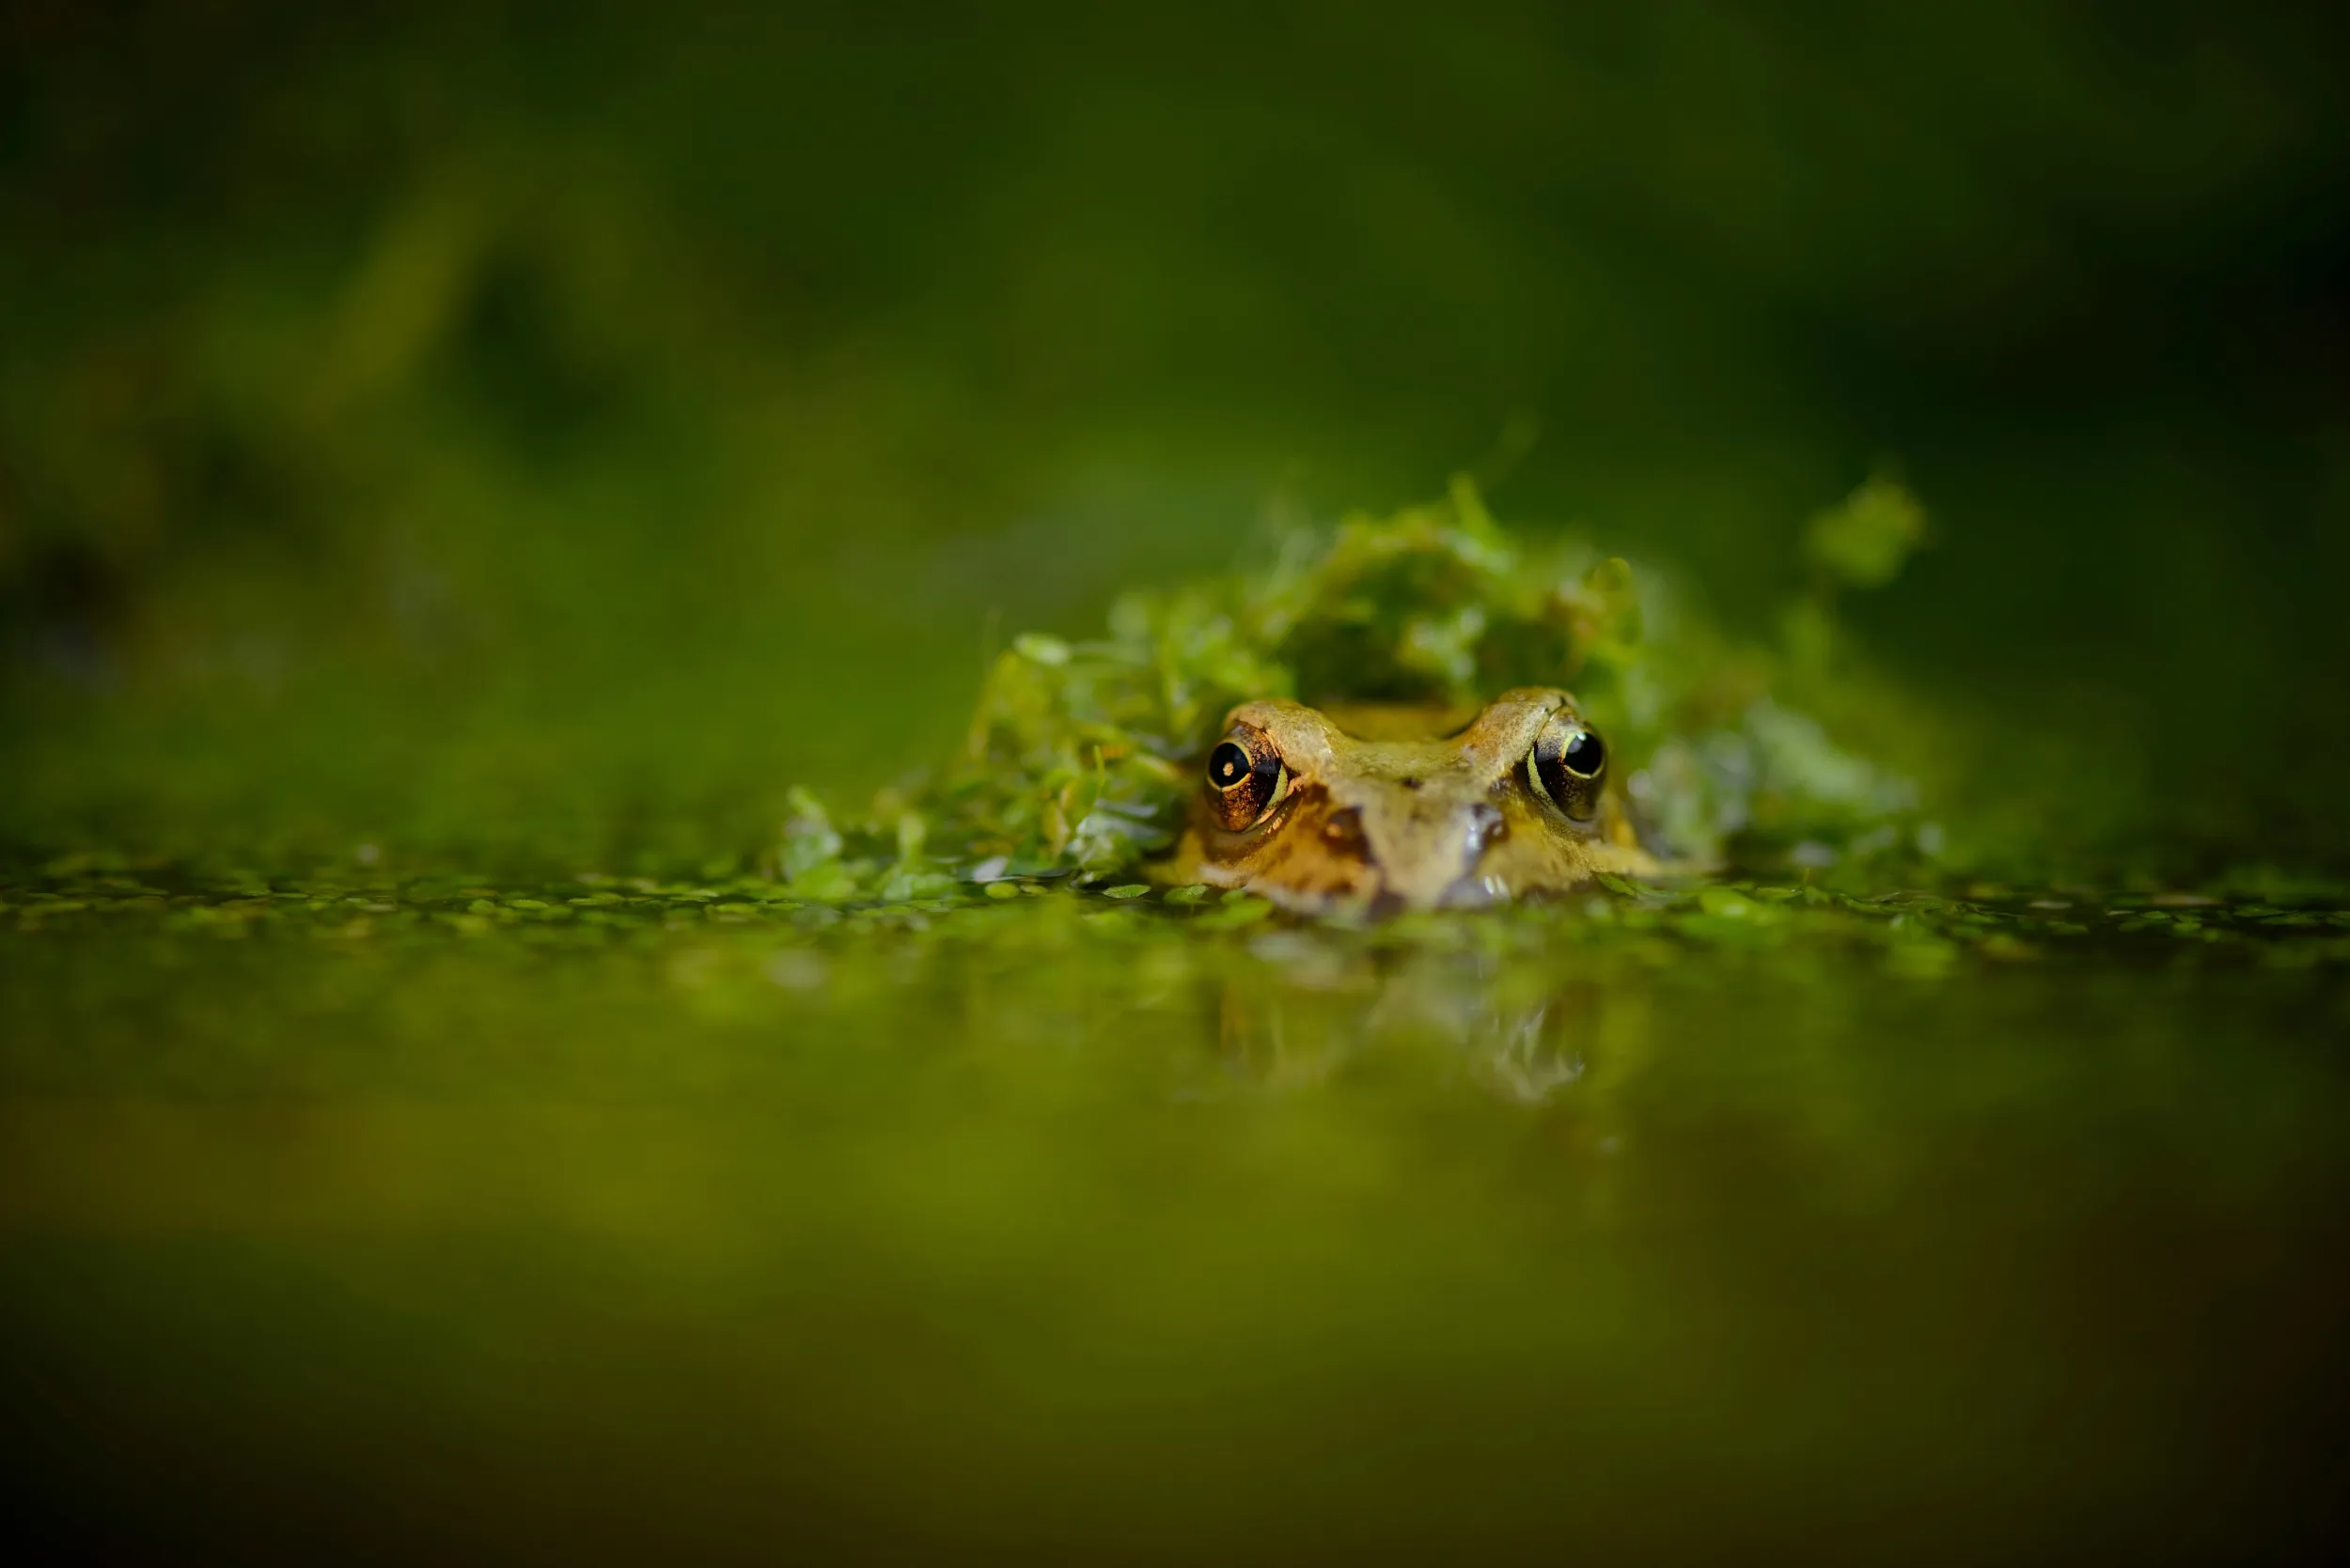
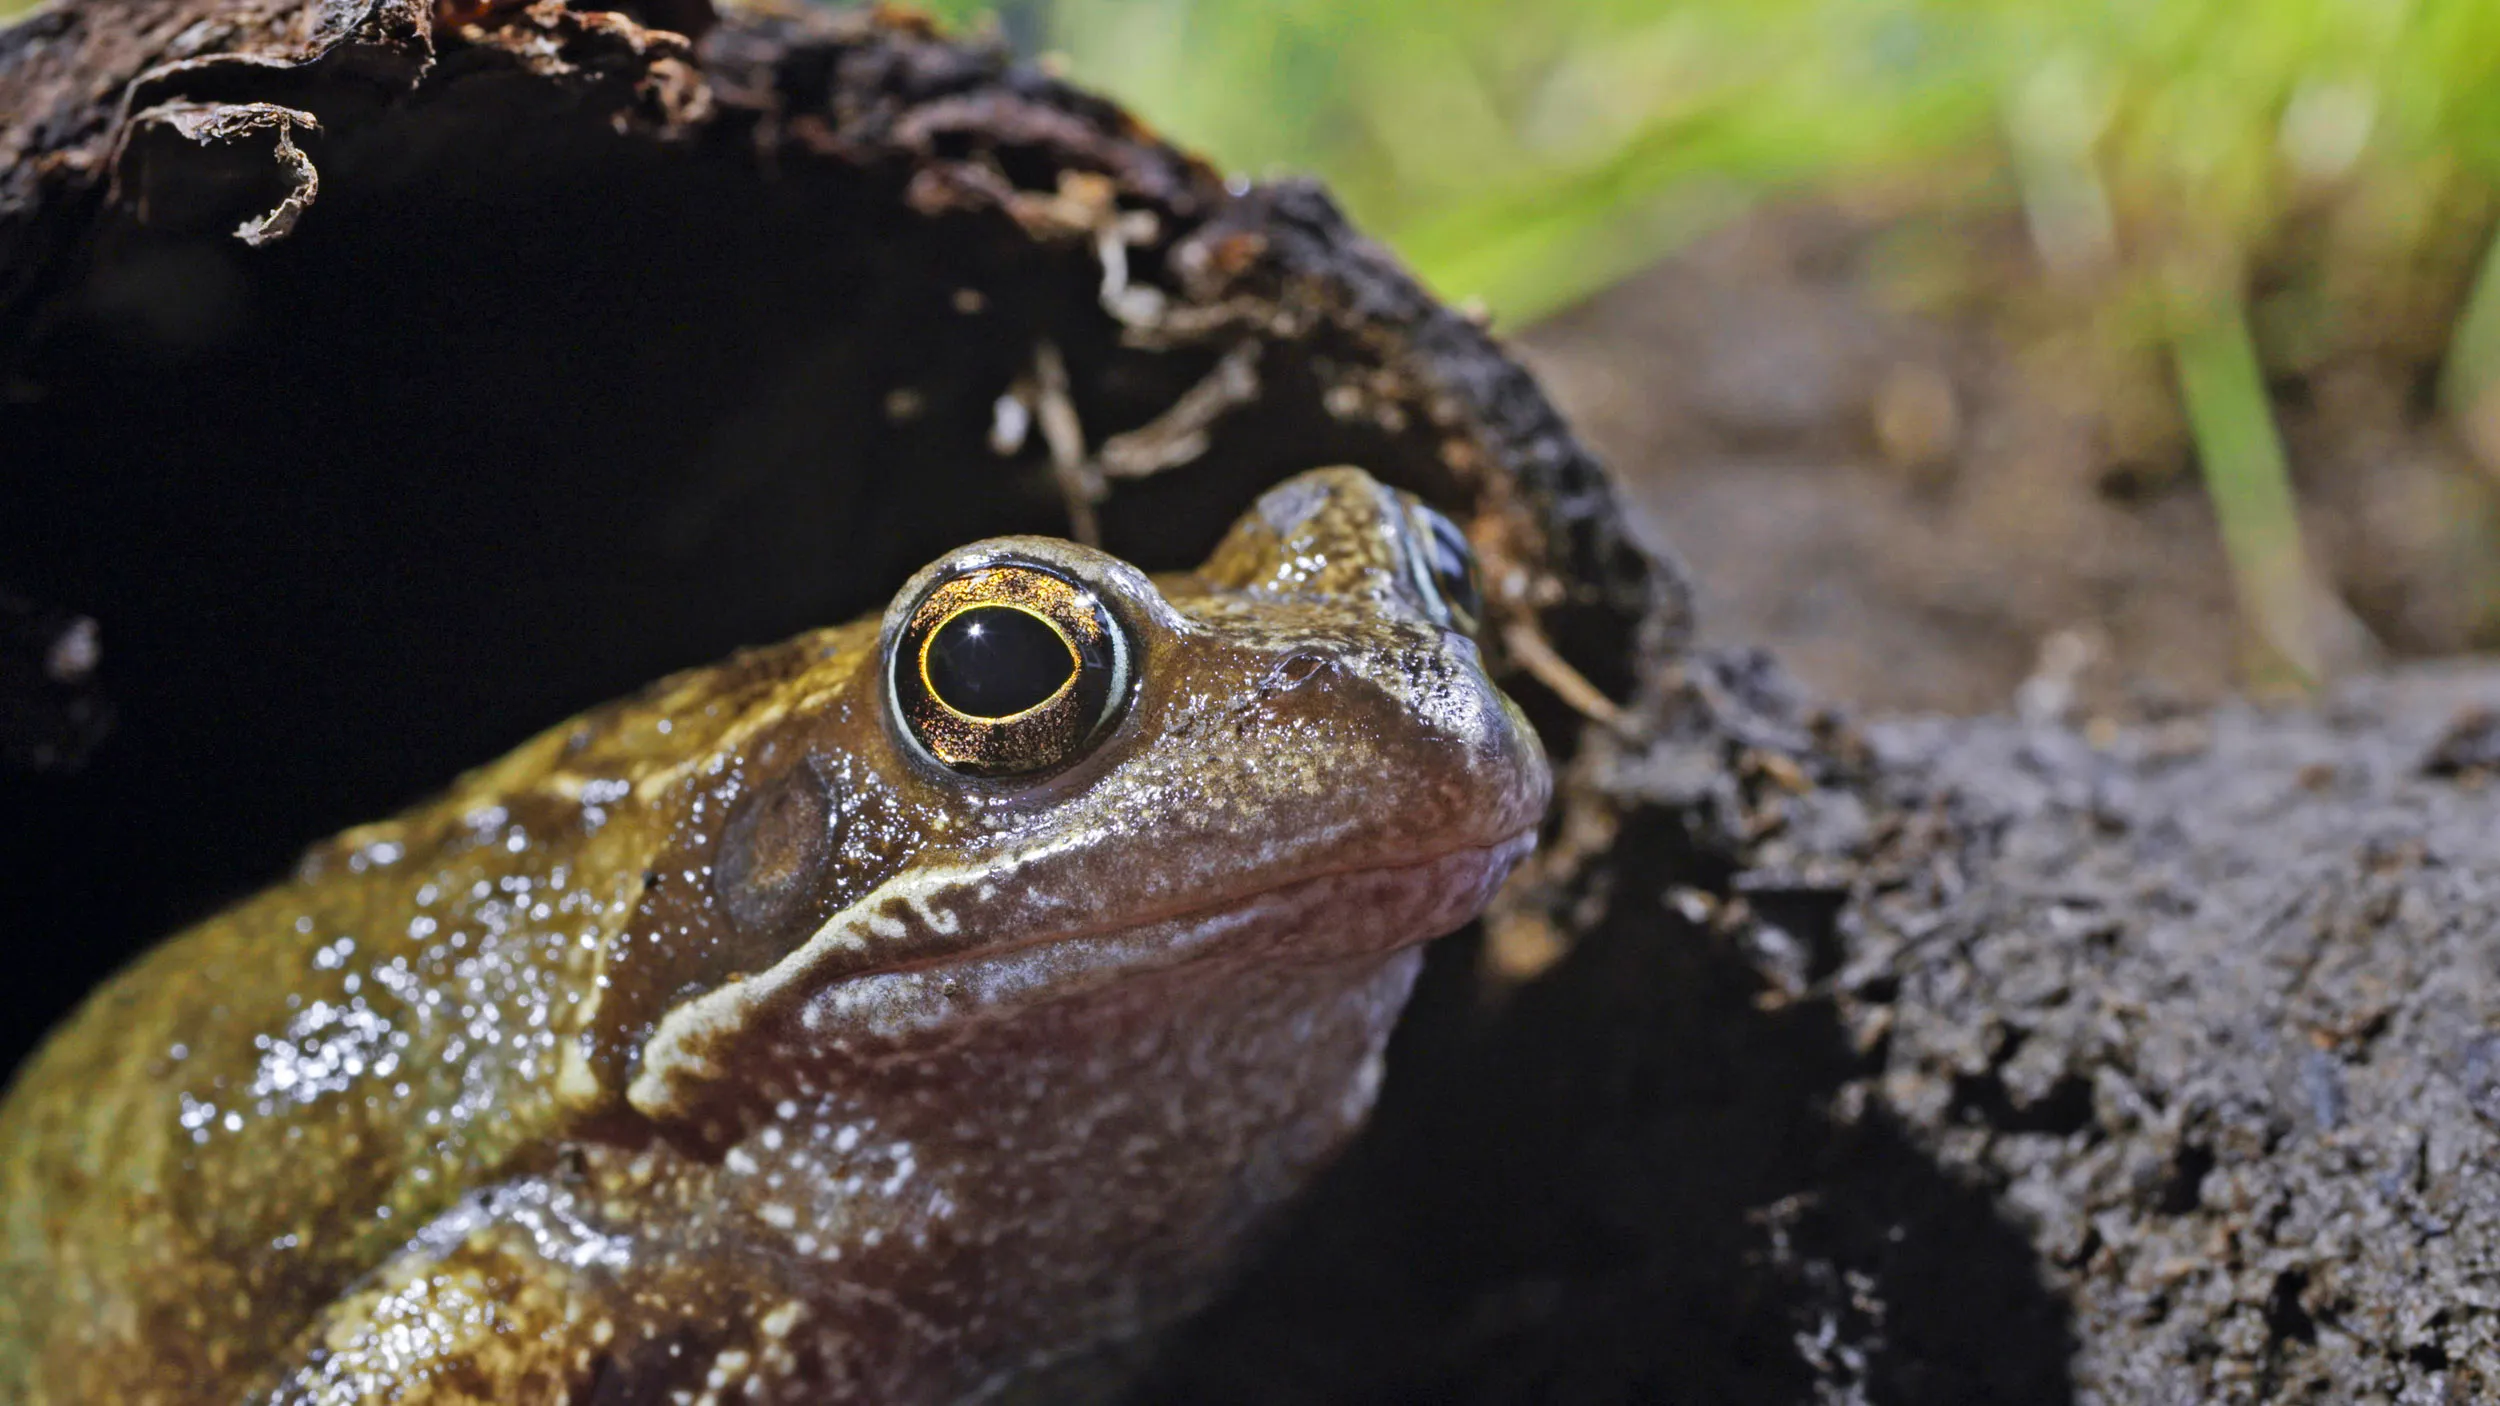
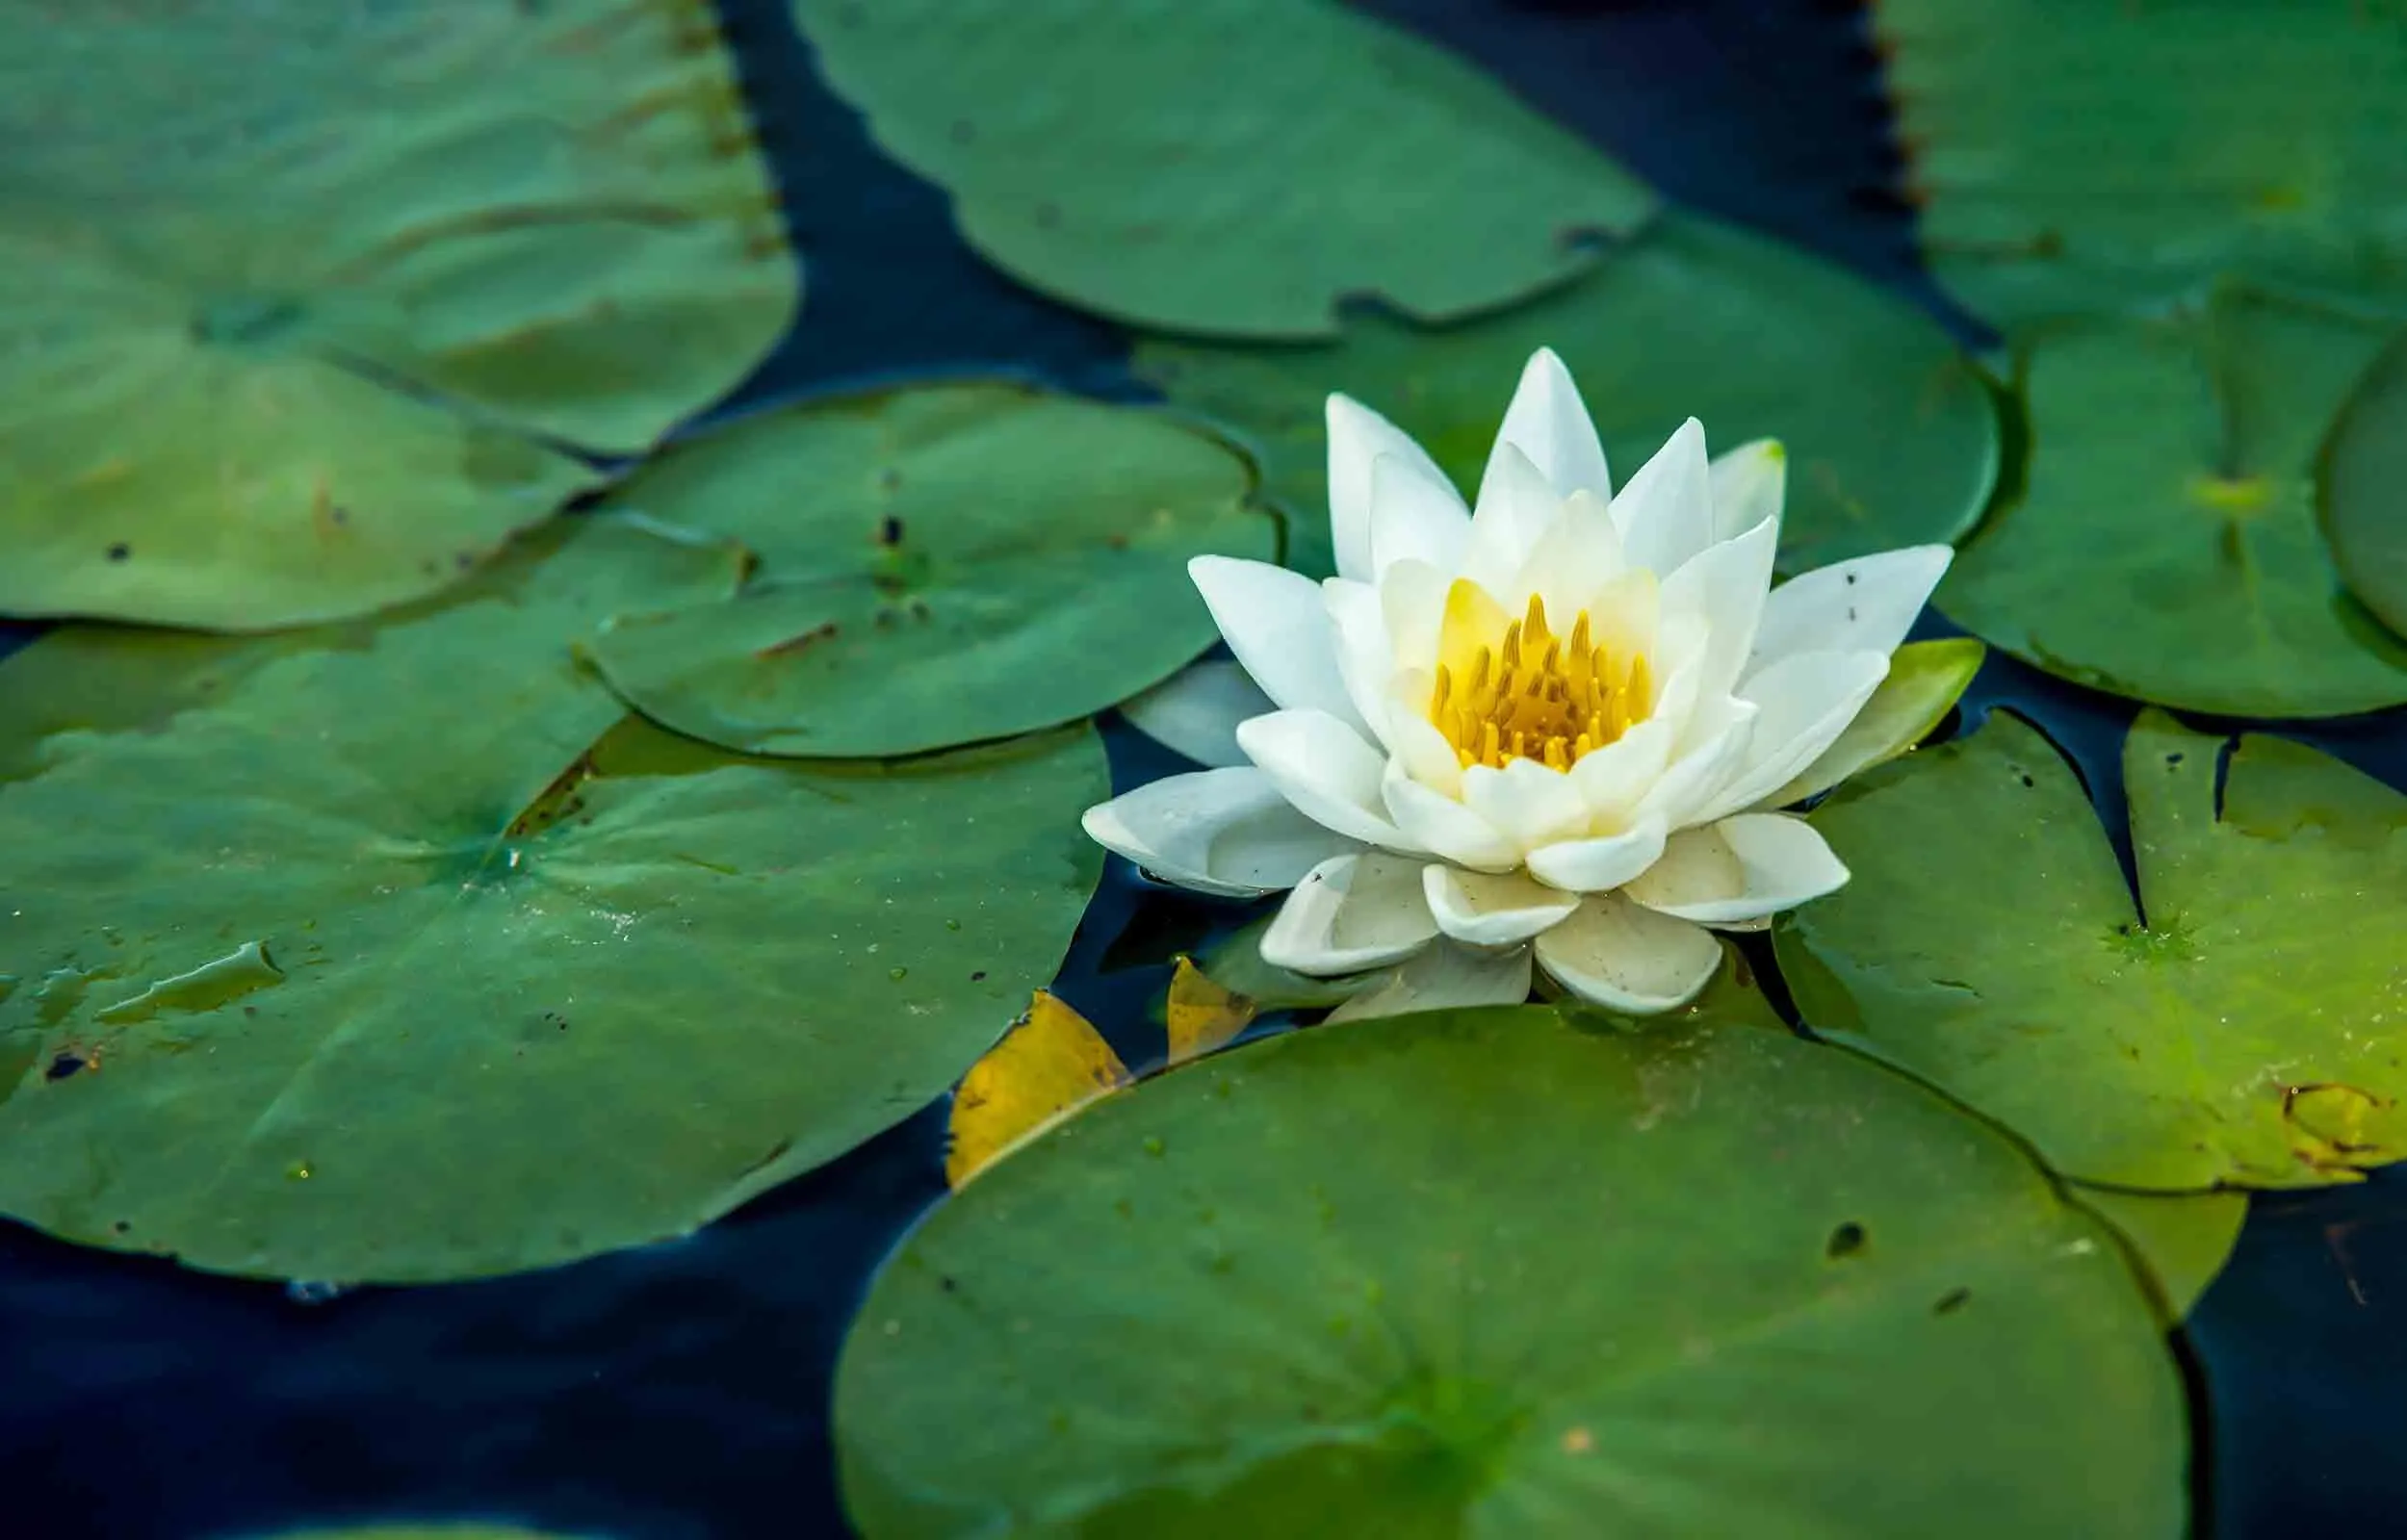
It's exciting to watch Pond Skaters, Water Lice (they look like long-legged underwater woodlice), Freshwater Shrimps, and if you’re lucky, a few damselflies darting around the water. You might even see a bird having a bath.
You can build a pond at any time of year, but autumn is ideal for larger ponds as the ground isn't too wet or dry and is perfect for digging.
Ideally, put it somewhere that gets a good amount of light, but isn't in full sunlight all day.
Foliage and low bushes around a pond will be a great habitat for wildlife, and especially good cover for birds and amphibians.
It can be a good idea to avoid trees. If your pond is under a large mature tree, leaves will fall into the water and the roots of young trees may puncture your pond’s lining.
Ponds often look best in the places they would form naturally – the lowest point in the garden – but it isn't essential. If you’re making a large pond, you’re likely to end up with a lot of spare soil as you dig. You could use this to create raised beds, or wildlife-friendly earth mounds elsewhere in the garden.
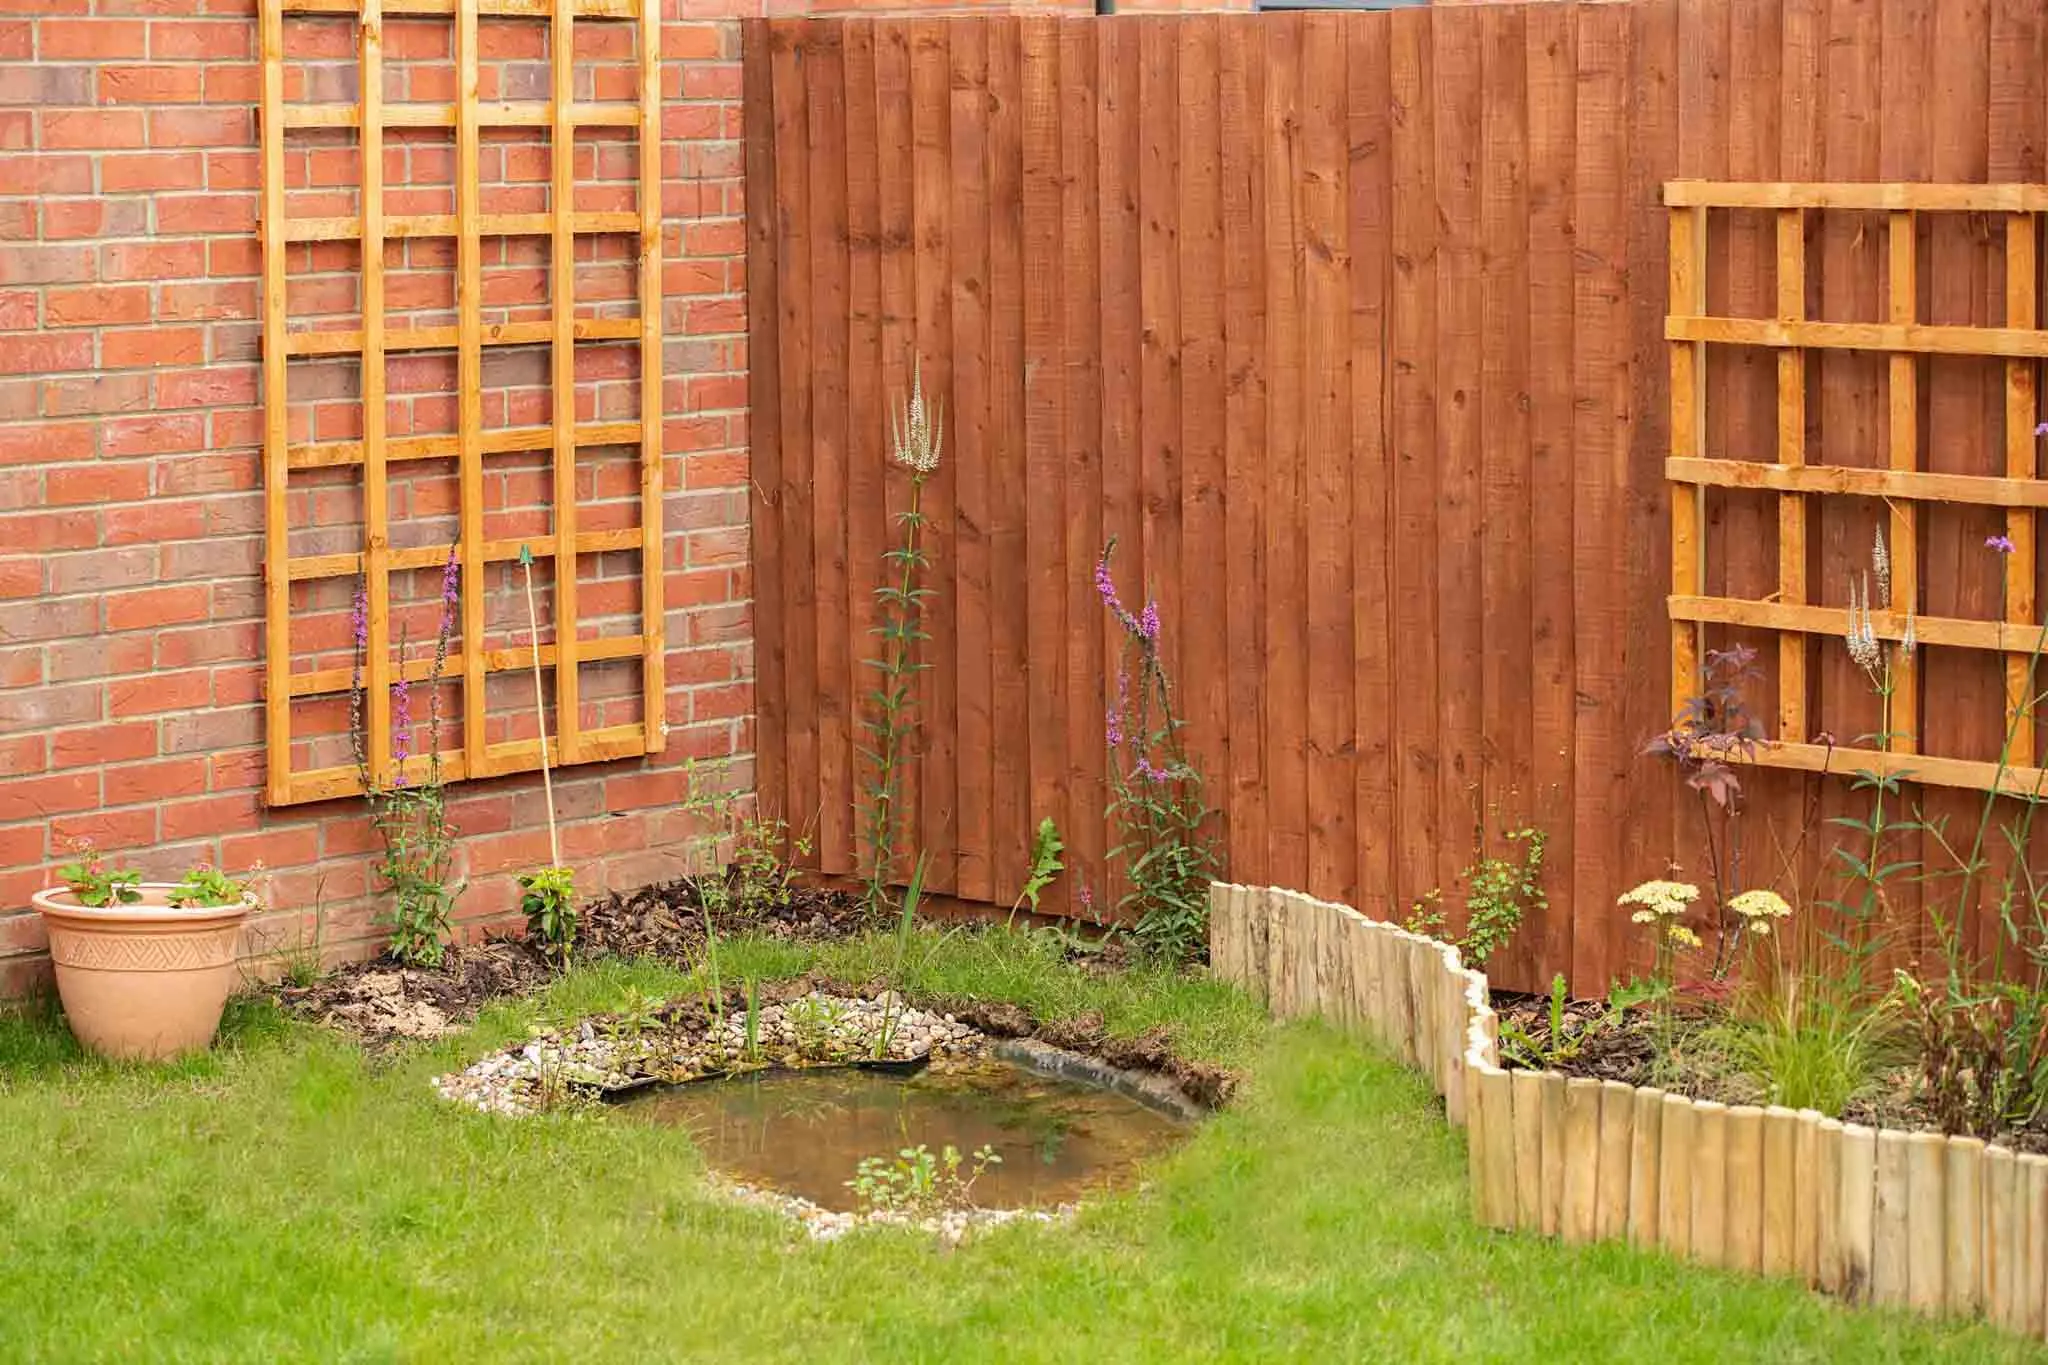
If you have young children or young visitors, a pond – no matter what size – will need to be somewhere they can only get to if supervised. Installing a low picket fence around the pond can look lovely and help keep children safe.
Plants are an essential part of a healthy, diverse pond. Just like with the rest of your garden, there are lots of different plants you can introduce to help make your pond welcome to wildlife.
A pond will often stock itself if you leave things to nature, and you'll be surprised how quickly insects, frogs and plants can take up home there.
However, introducing plants yourself, if done right, can be hugely beneficial to your pond too. There are a few things you should consider before jumping into it though:
Here's a breakdown of some of the plants you should embrace and others that you should avoid.
Floating plants sit on the water's surface, without needing to be anchored or attached to any soil below.
If you aim to cover around 50% of your pond, they can do a great job at keeping the water cool and algae growth down.
These are plants that are fully submerged into the water. They're great oxygenators and provide valuable cover for underwater creatures.
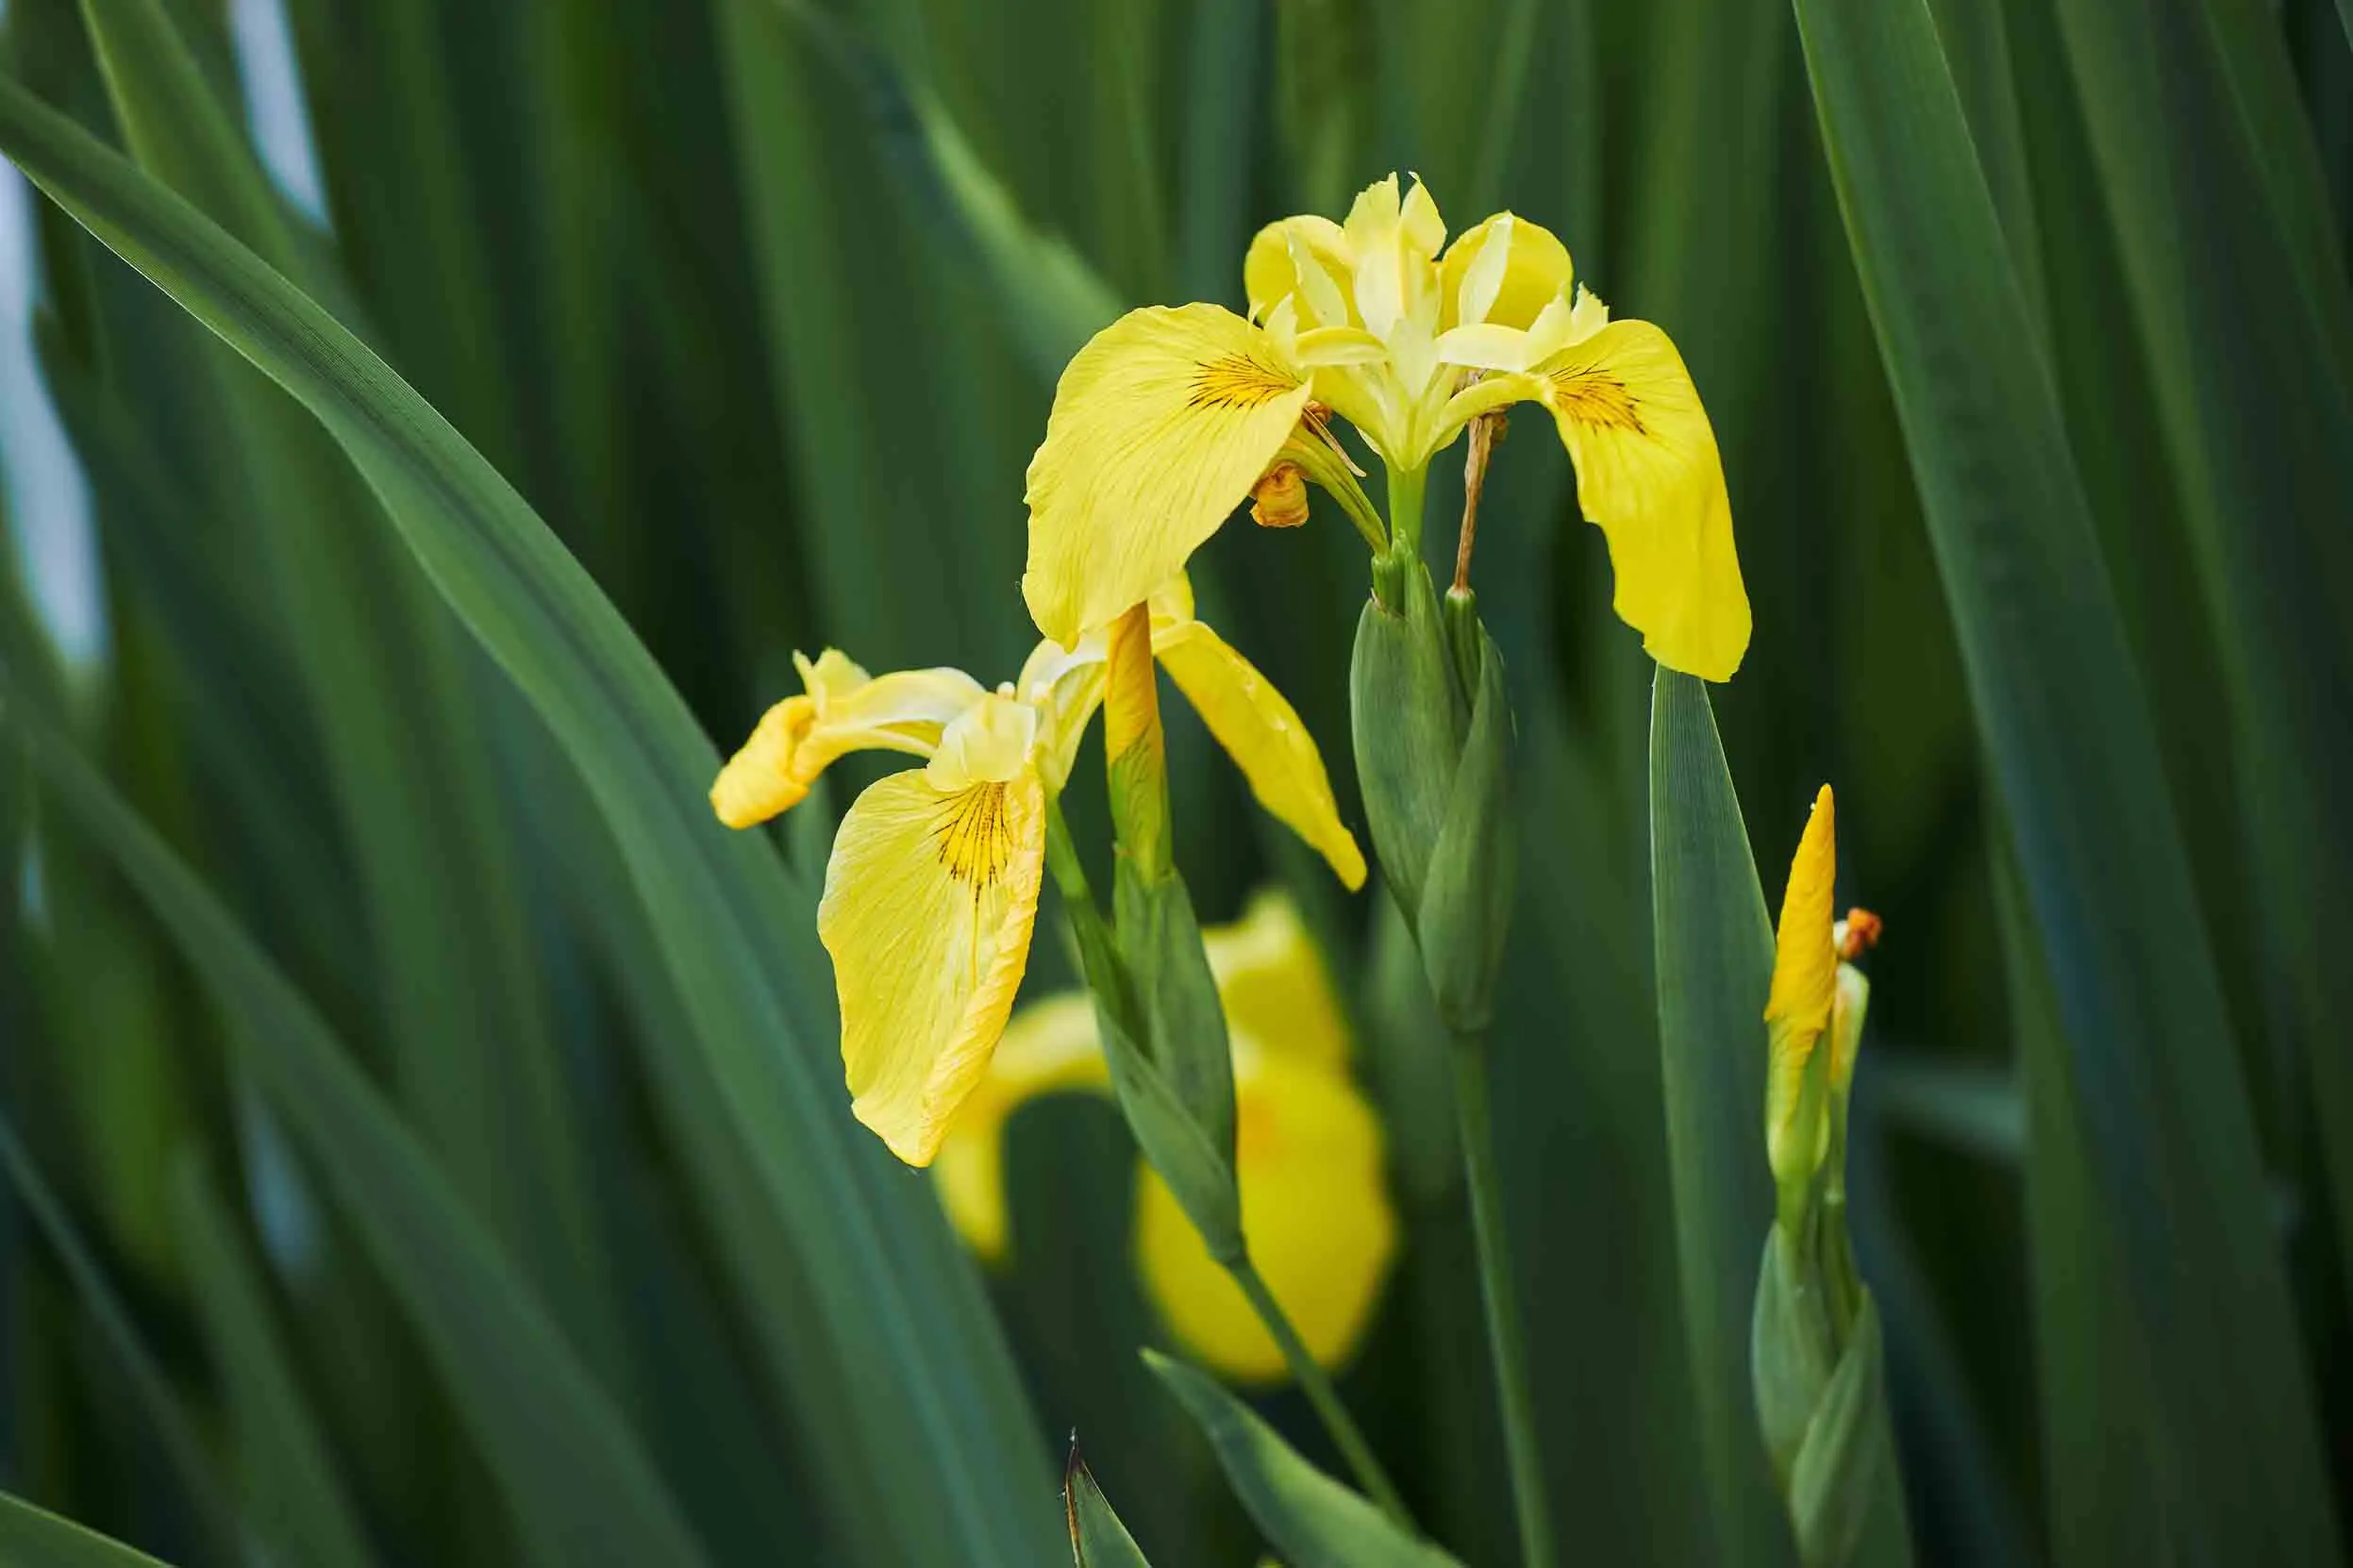
These plants tend to grow around the edge of a pond. They root themselves to the soil and mud underwater and emerge out of the water’s surface.
Some non-native plants are invasive and can choke up waterways and out-compete our native species. Their reach can stretch beyond your garden pond, if birds and other wildlife transfer seeds out into the countryside, so avoid any of the following.

If you’re looking to have fish, such as koi carp, they will eat lots of wildlife from a more natural pond. If you’re set on having fish, an ornamental pond is probably much more suitable than a wildlife one.
It will need to be watertight, like a half-barrel, an old water tank or even a large washing-up bowl. It needs to be able to withstand the rigours of being outside, especially frosts.
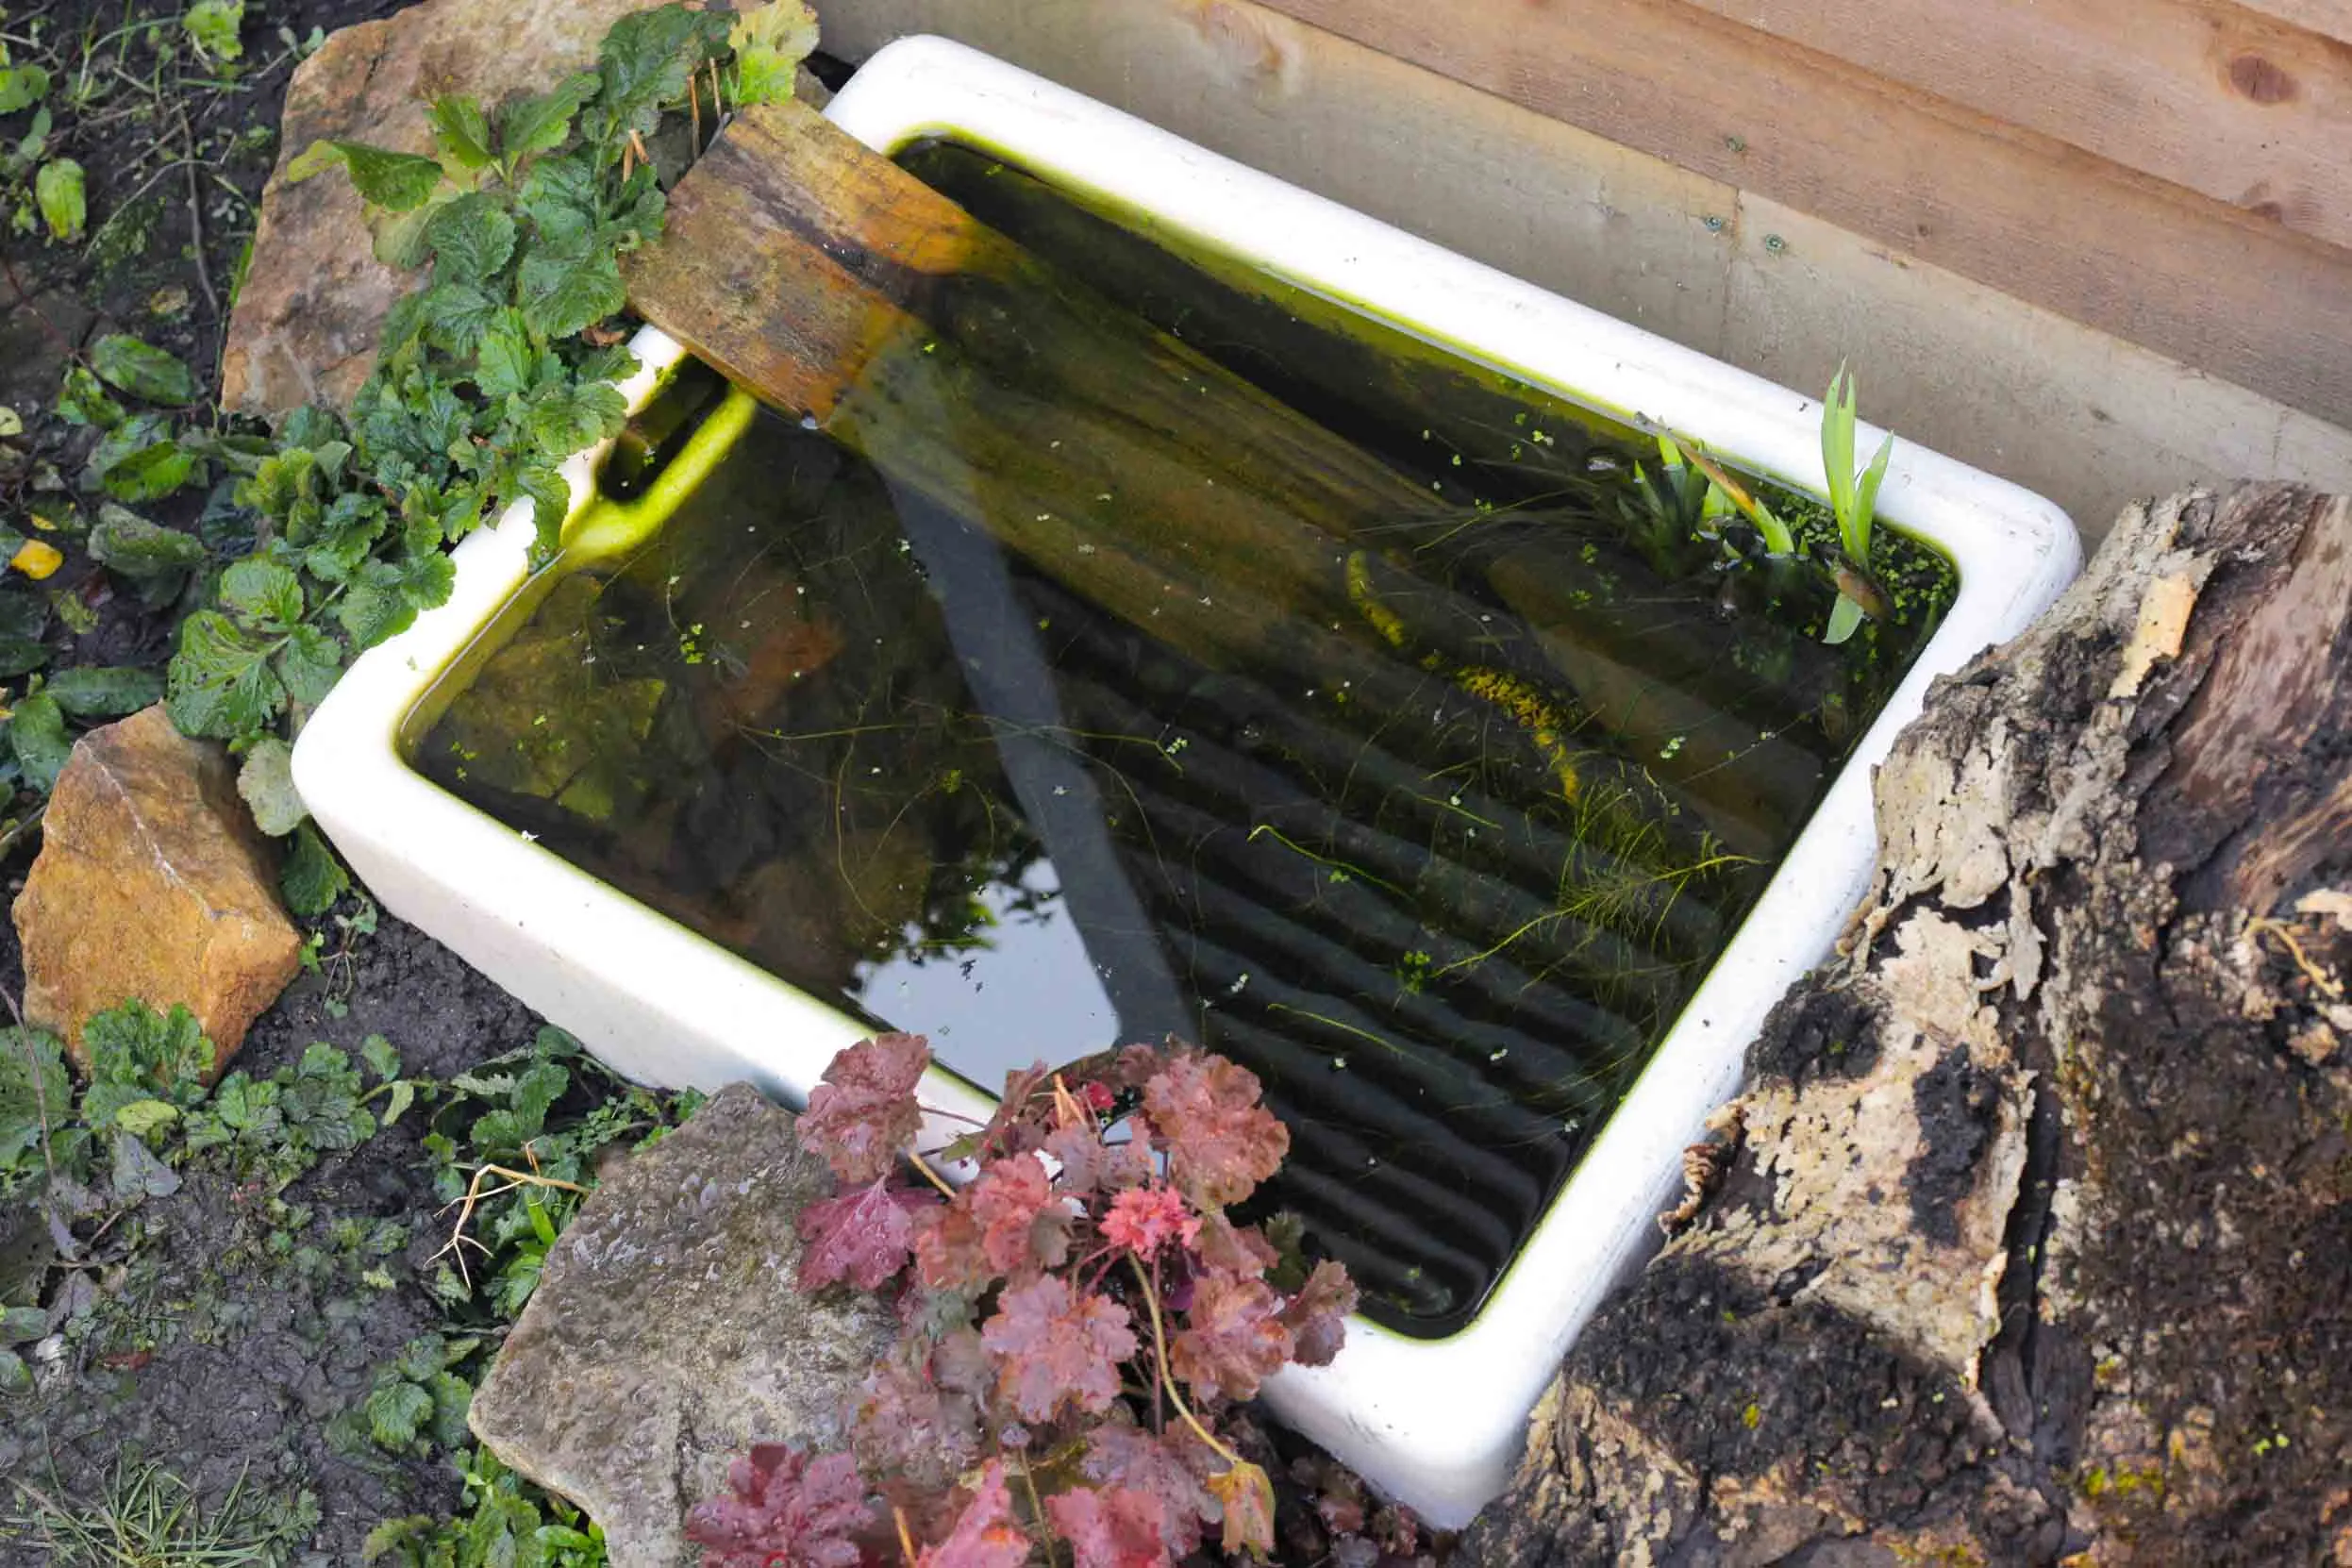
Put your container into your chosen place while it’s empty. Once it’s full of water, it will be difficult to move. If the edges are level with the ground, more creatures can get in and out. If you leave it above ground, make a ramp or use bricks, rocks or logs to create steppingstones in and out of the pond.
Seal any drainage holes with silicone, then put a layer of clean gravel in the bottom. Don't use soil, as it will make your pond go green.
Whenever possible, use rainwater. Tap water contains too many chemicals to be good for a pond.
It is best to put plants in special aquatic plant pots (which have mesh sides). You'll also need to use a very low nutrient soil, mixed with grit (you can buy special aquatic soil for ponds).
Include native marginal plants around the edge, poking clear of the surface to give perches and cover to wildlife. Be careful to only use plants that won't grow too large for such a small space. Two or three plants is the maximum for a pond this size. Try plants such as Water Forget-me-not, Lesser Spearwort and Marsh Marigold.
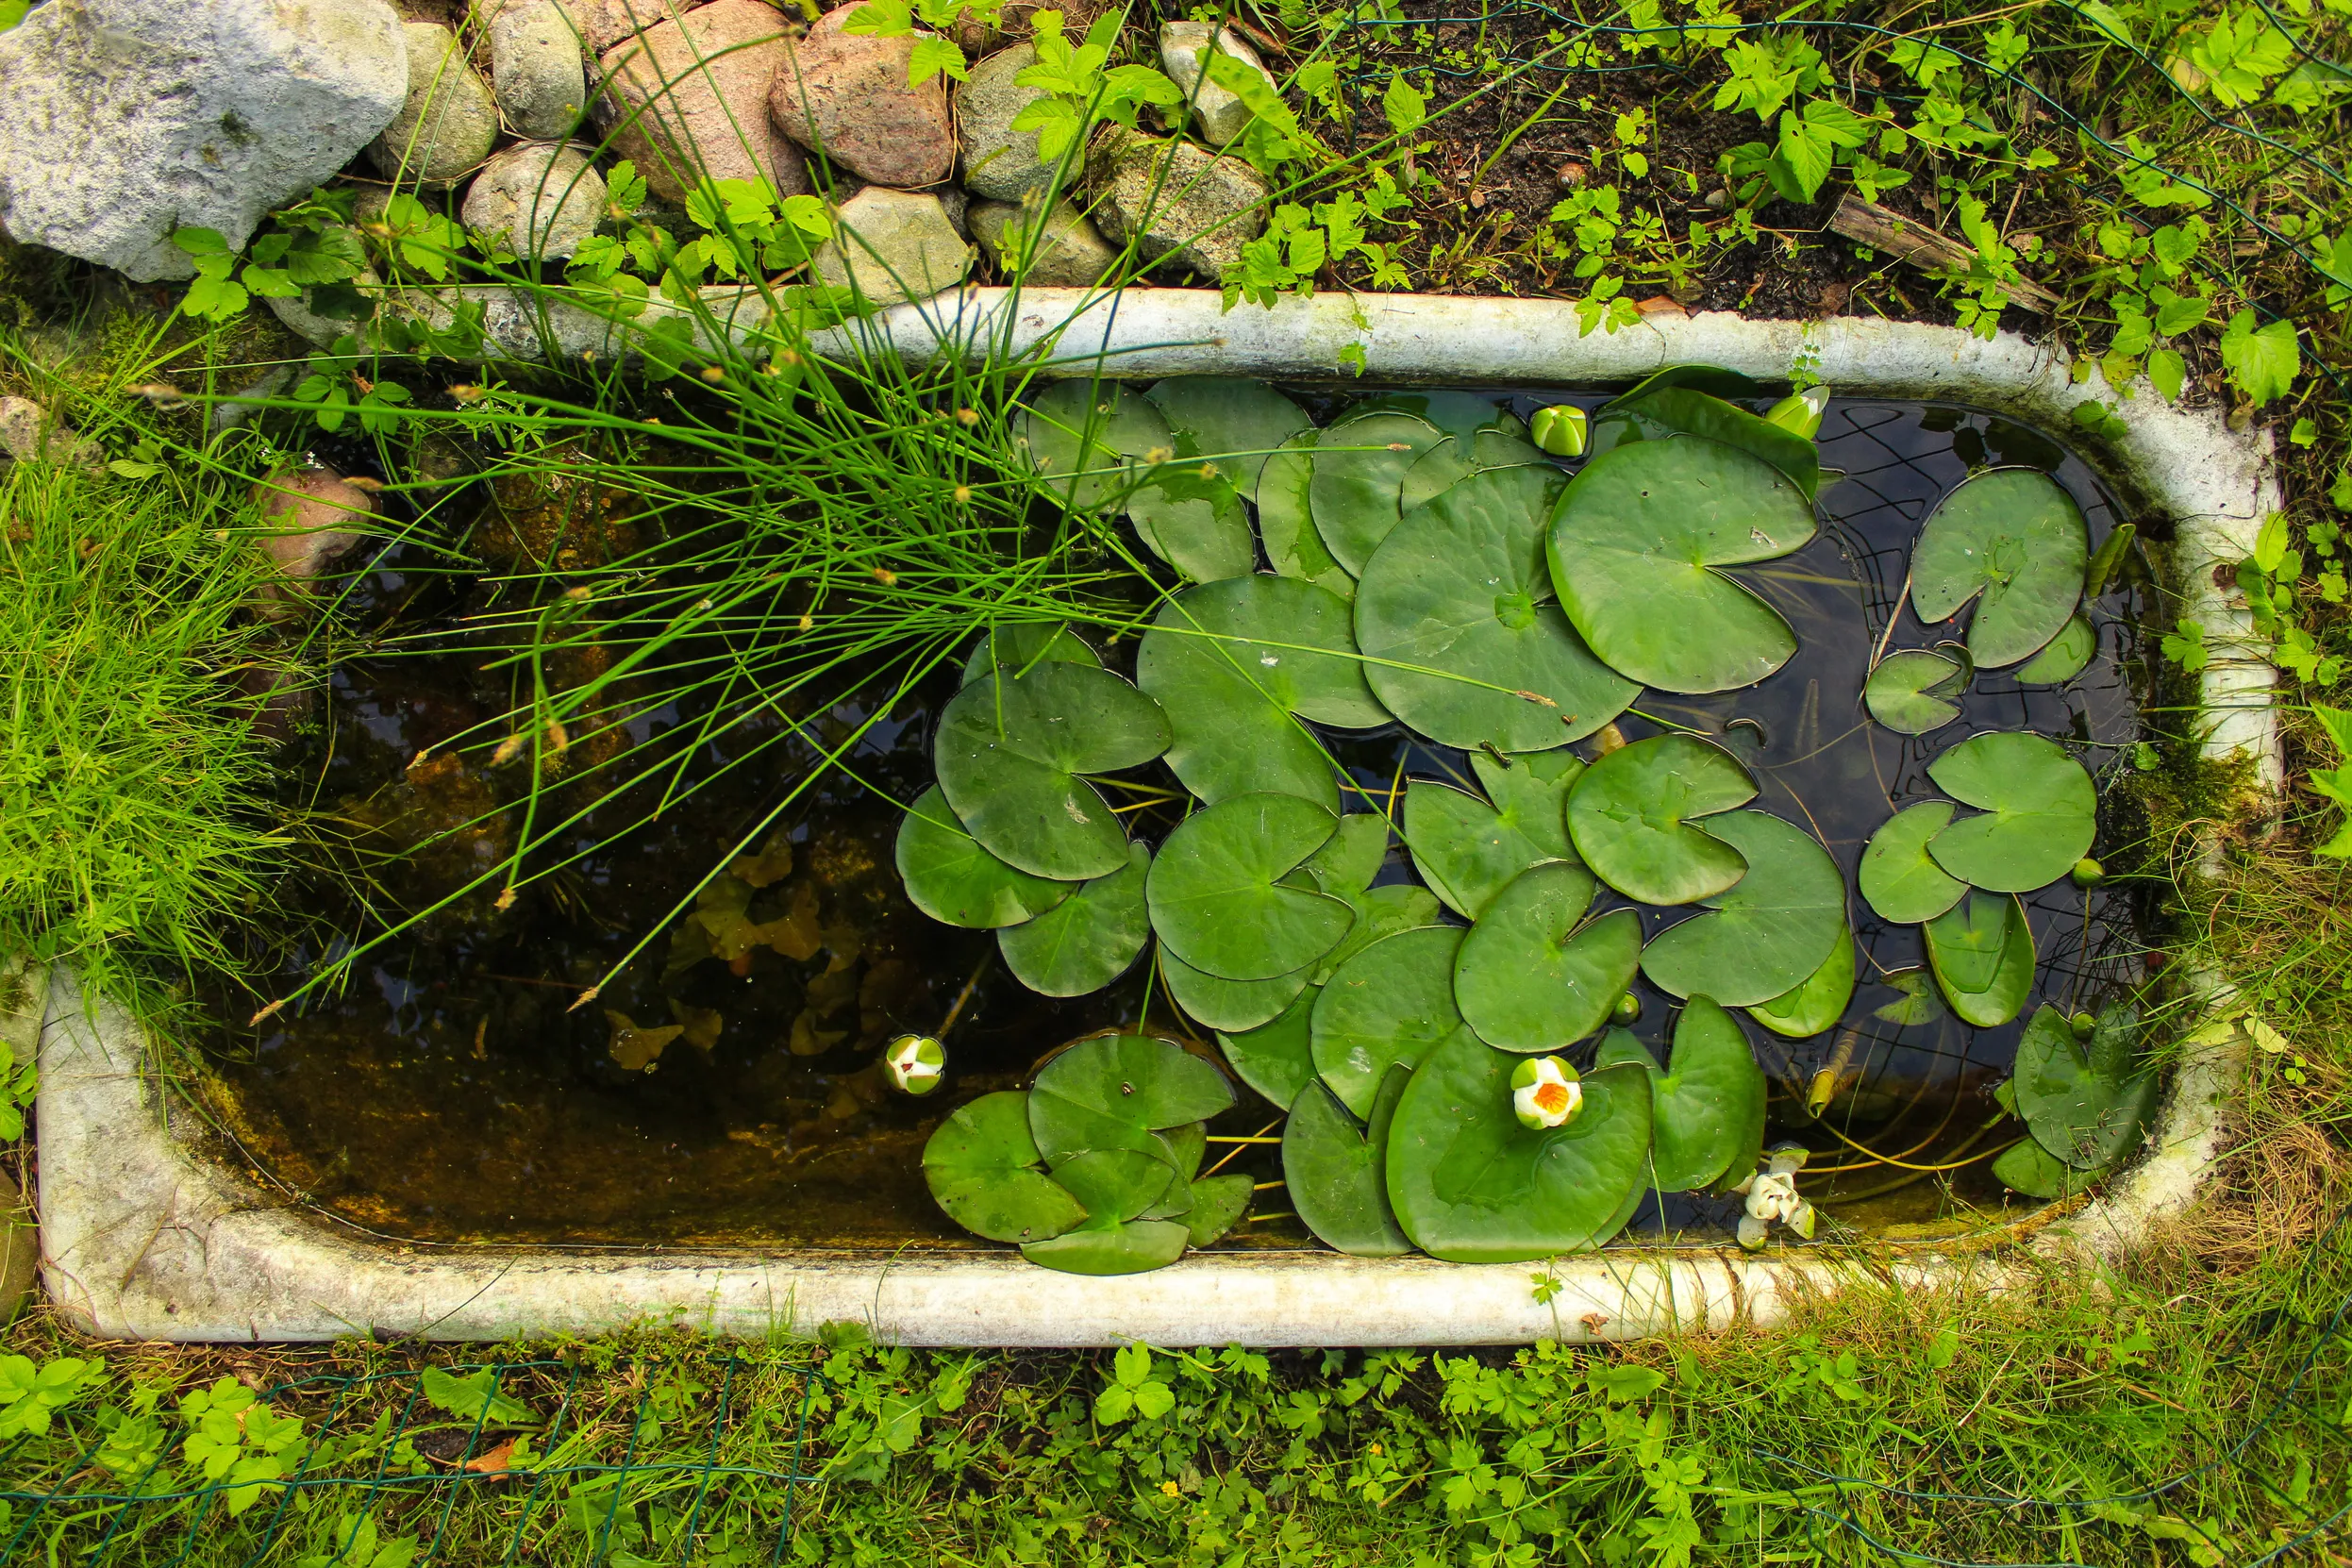
For the first few months, don’t worry if you get algae or Blanket Weed (which is like strings of green gloop), get children to remove it by winding it around a stick – it’s fun!
As your mini-pond matures, all the pond creatures you’ve attracted will help keep the water clear. You may need to top the pond up in hot weather – try to use rainwater from a water butt.
Don't be tempted to bring in buckets of pond life from elsewhere. Pond creatures are great at finding ponds themselves. Toads tend to like larger ponds, but there is every chance a frog or newt will find your mini-pond, especially if you provide corridors of cover next to a pond, and add a frog and toad abode nearby.
Once your pond has established itself and some residents have moved in, its a great place to explore the world of pond dipping.
Are you doing this activity as part of your Wild Challenge? Take a look at your progress and go for gold!
See the section above for more information on the best spots.
The golden rules for large ponds are:
Get creative with your shape, using wiggly margins or a perfectly geometric shape – wildlife won't mind either way. Try doing a sketch on paper, and use string to set out your edges before digging.
While it’s possible to line a pond with concrete, we recommend using either a pre-moulded liner – usually fiberglass, they are expensive but durable, or a flexible liner – materials include plastic (PVC), butyl rubber and EPDM rubber (such as Firestone). They’re the easiest way to create a pond to the dimensions you want.
Flexible liners don't bend round right angles so use them for more naturally curving ponds. A flexible liner will come as a rectangle. The liner dimensions you will need will be (the maximum length of the pond plus twice the maximum depth) by (the maximum width plus twice the maximum depth). As a rough guide, a 3m x 3m liner will cost £50 - £100. Buy the best quality you can afford so that it won’t leak and will last longer.
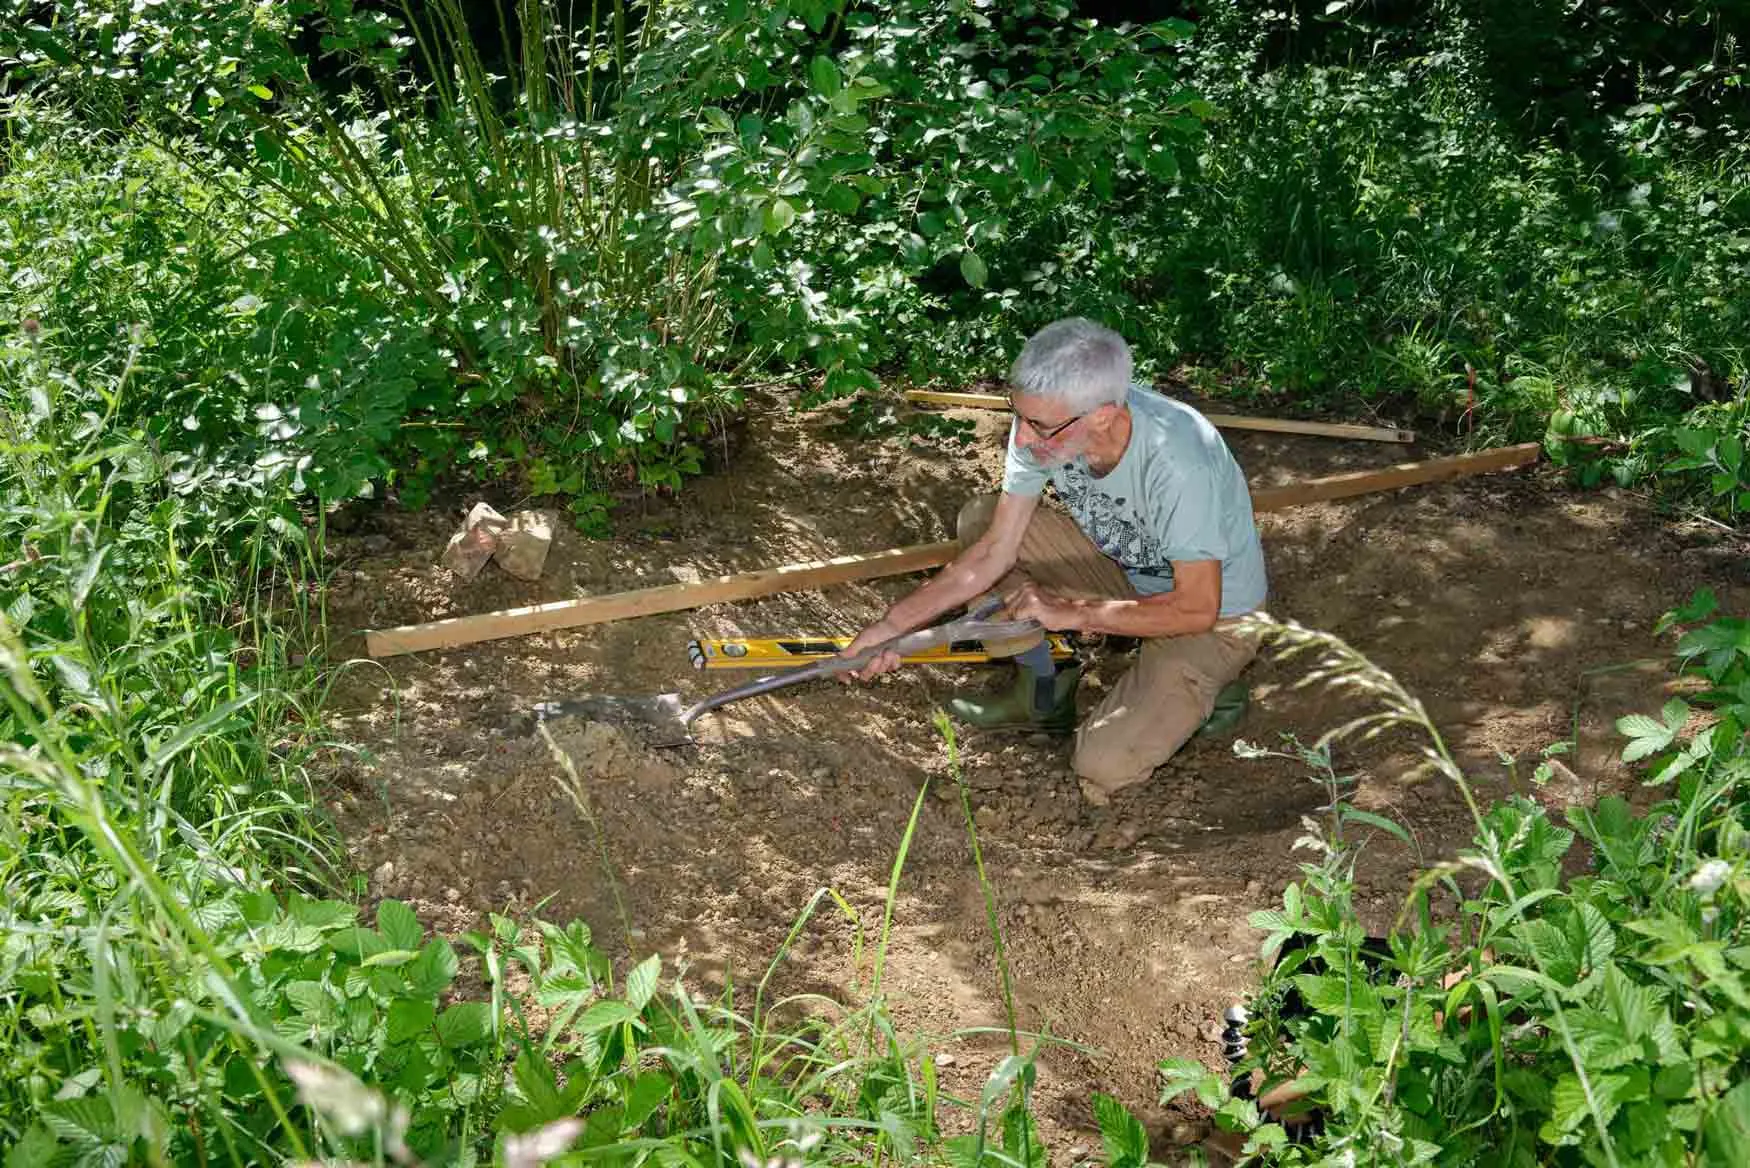
Mark out where your pond is with a hosepipe laid on the ground or lines of builders' sand.
For really big ponds, you may want to hire a mini-digger to take some of the strain. Create horizontal shelves where you will be able to put aquatic plants in pots. Carefully check it is level across all sides with a spirit level.
If you are using a ready-made moulded liner, lower it into the hole to test that you have dug the correct shape. Dig a little bit more earth out than the size of the liner so that it has a bit of wriggle room. Then pack the base with a protective layer of sand, lower the liner into position and carefully pack sand around the sides.
If using a flexible liner, dig a slightly larger hole than you need (about 50mm extra all the way round and down). Then make sure you remove all rocks, roots and sharp objects from the hole. Don’t cut the liner yet.
To ensure the liner doesn't get punctured, place a 50mm layer of sand all around the hole. Then over this put sheets of man-made pond underlay, so that rocks and roots can't penetrate it.
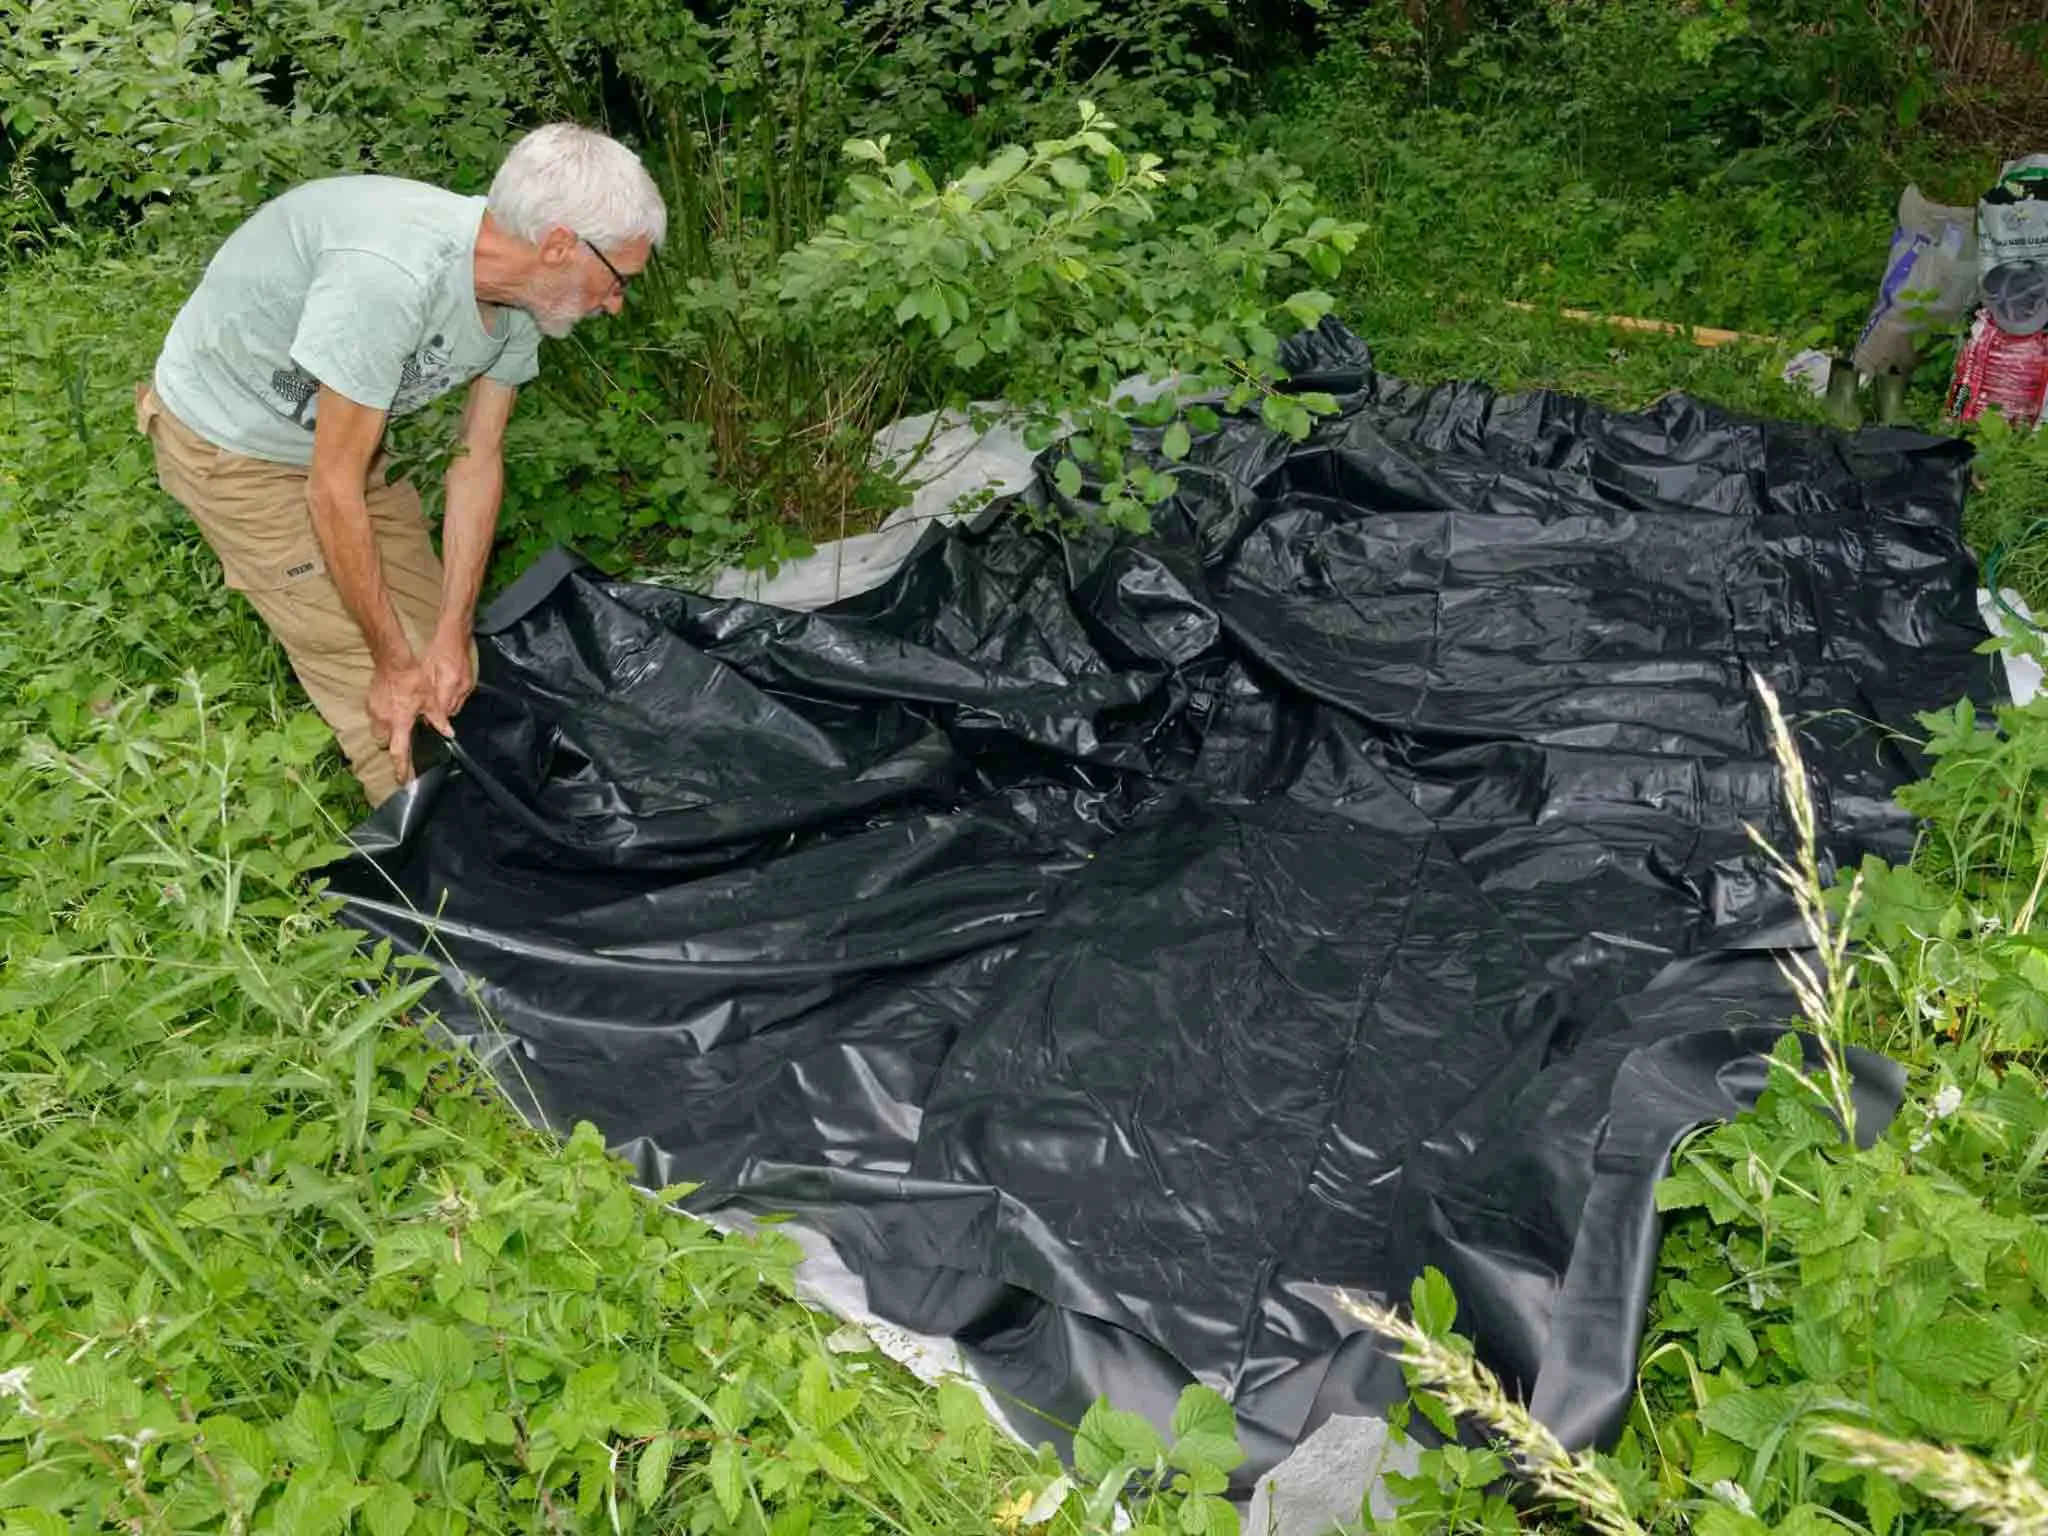
Now unfold your liner across the hole. Remember that EDPM and rubber liners are very heavy, so you may need some help. Push it loosely into the contours. Smooth out the liner and tuck in folds as required.
You can also place some washed gravel into the base to provide cover, and protect the liner. But if you want to use soil, only ever use the special aquatic compost, devoid of almost all nutrients – garden soil will give you algae problems.
It’s best to use rainwater from a water butt, as tap water contains nitrates and phosphates which may give you algae problems.
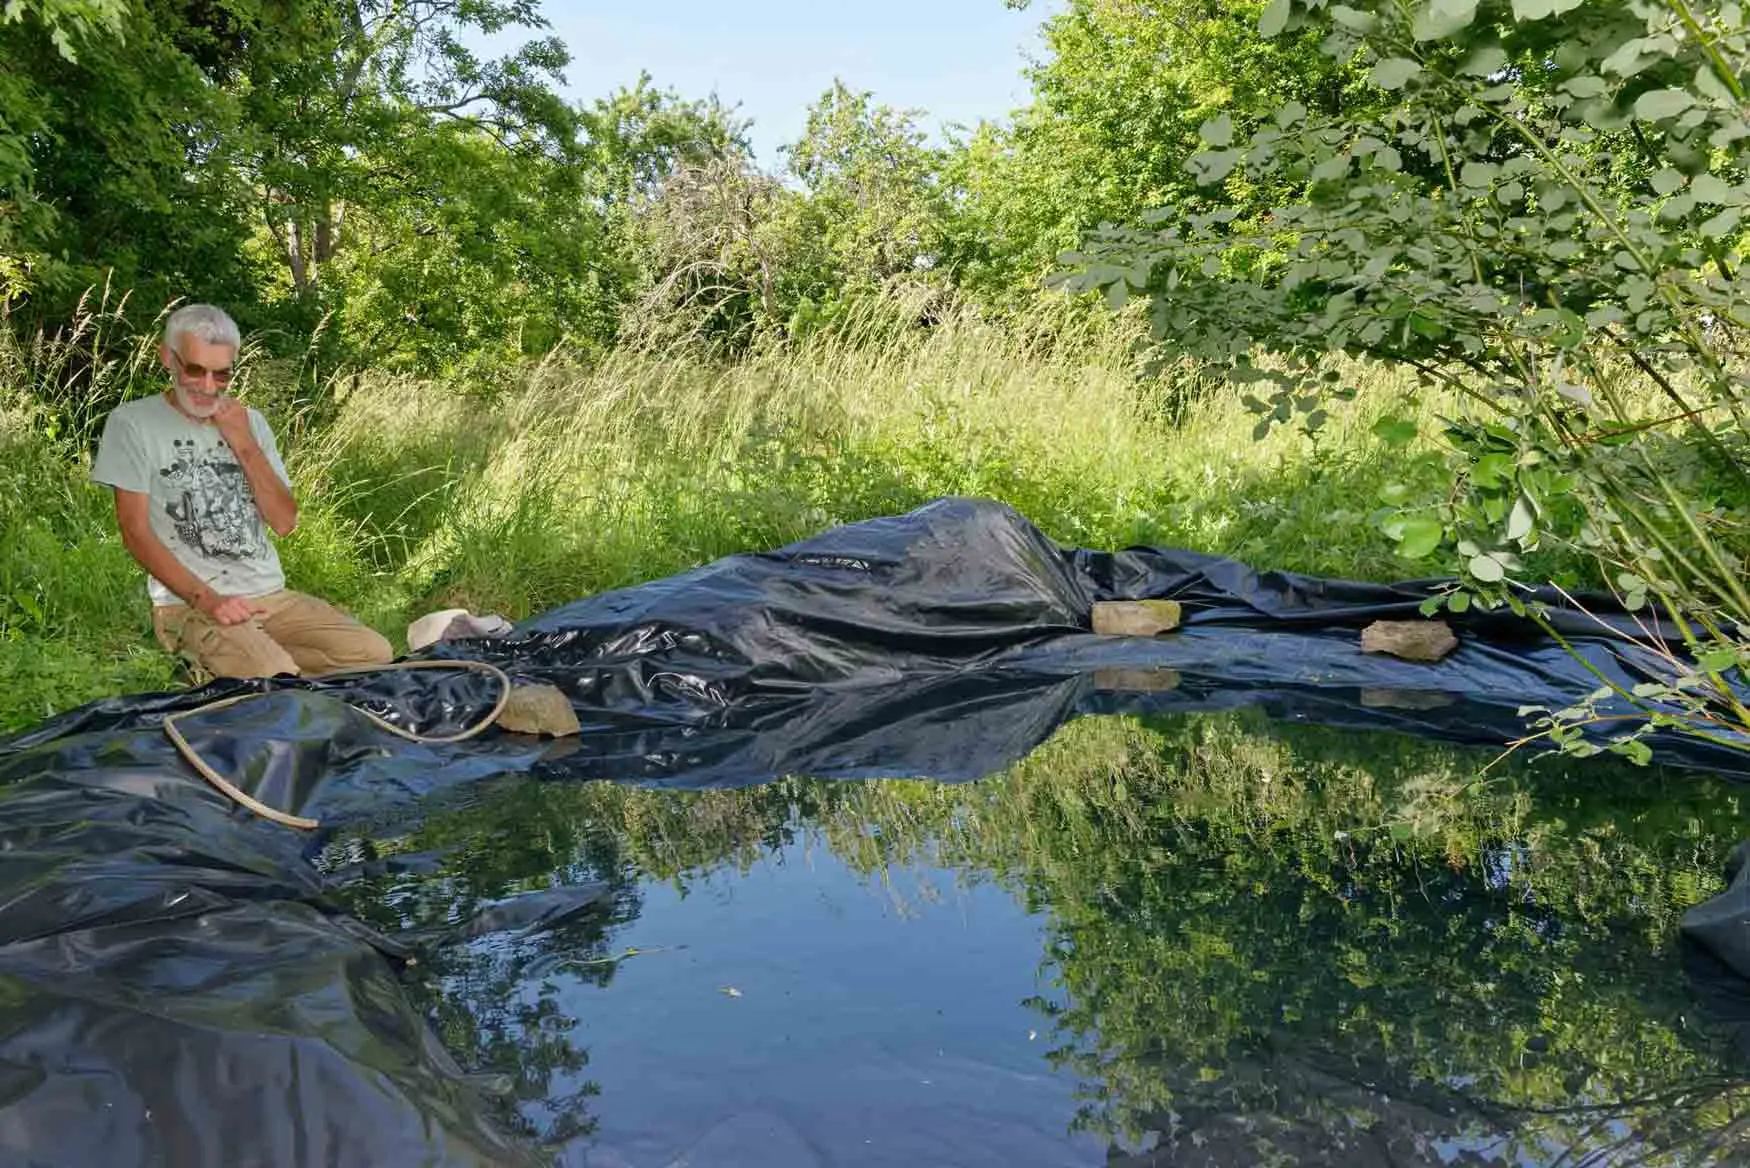
Once the pond is filled, trim the liner that is sticking out around the outside. Tuck rocks or logs around the edge to give it a natural look and hide any remaining liner.
See the section ‘Best plants for wildlife ponds’ above for our recommendations.
In early spring plant lots of marginals onto your pond shelves using aquatic baskets and soil.
For the first few months, it’s normal to get algae or blanket weed. Remove with a rubber rake, or get children to remove it by winding it around a stick. Before composting, allow it to sit at the side of the pond for critters to escape back into the water.
You may need to top the pond up in hot weather – try to use rainwater from a water butt. The water will look murky at first, but that's normal. Leave the pond for a week or so to settle and it should clear up.
Most of the creatures that use ponds are expert at finding new ones. So there's no need to bring in water or wildlife from other ponds, as this can bring in pathogens.

Get digging!
This activity is part of Nature On Your Doorstep – our call-to-arms to transform your outdoor space (window boxes welcome!) into a wildlife haven.